Showing posts with label nails. Show all posts

Sunday, July 15, 2012

Weekly Nail

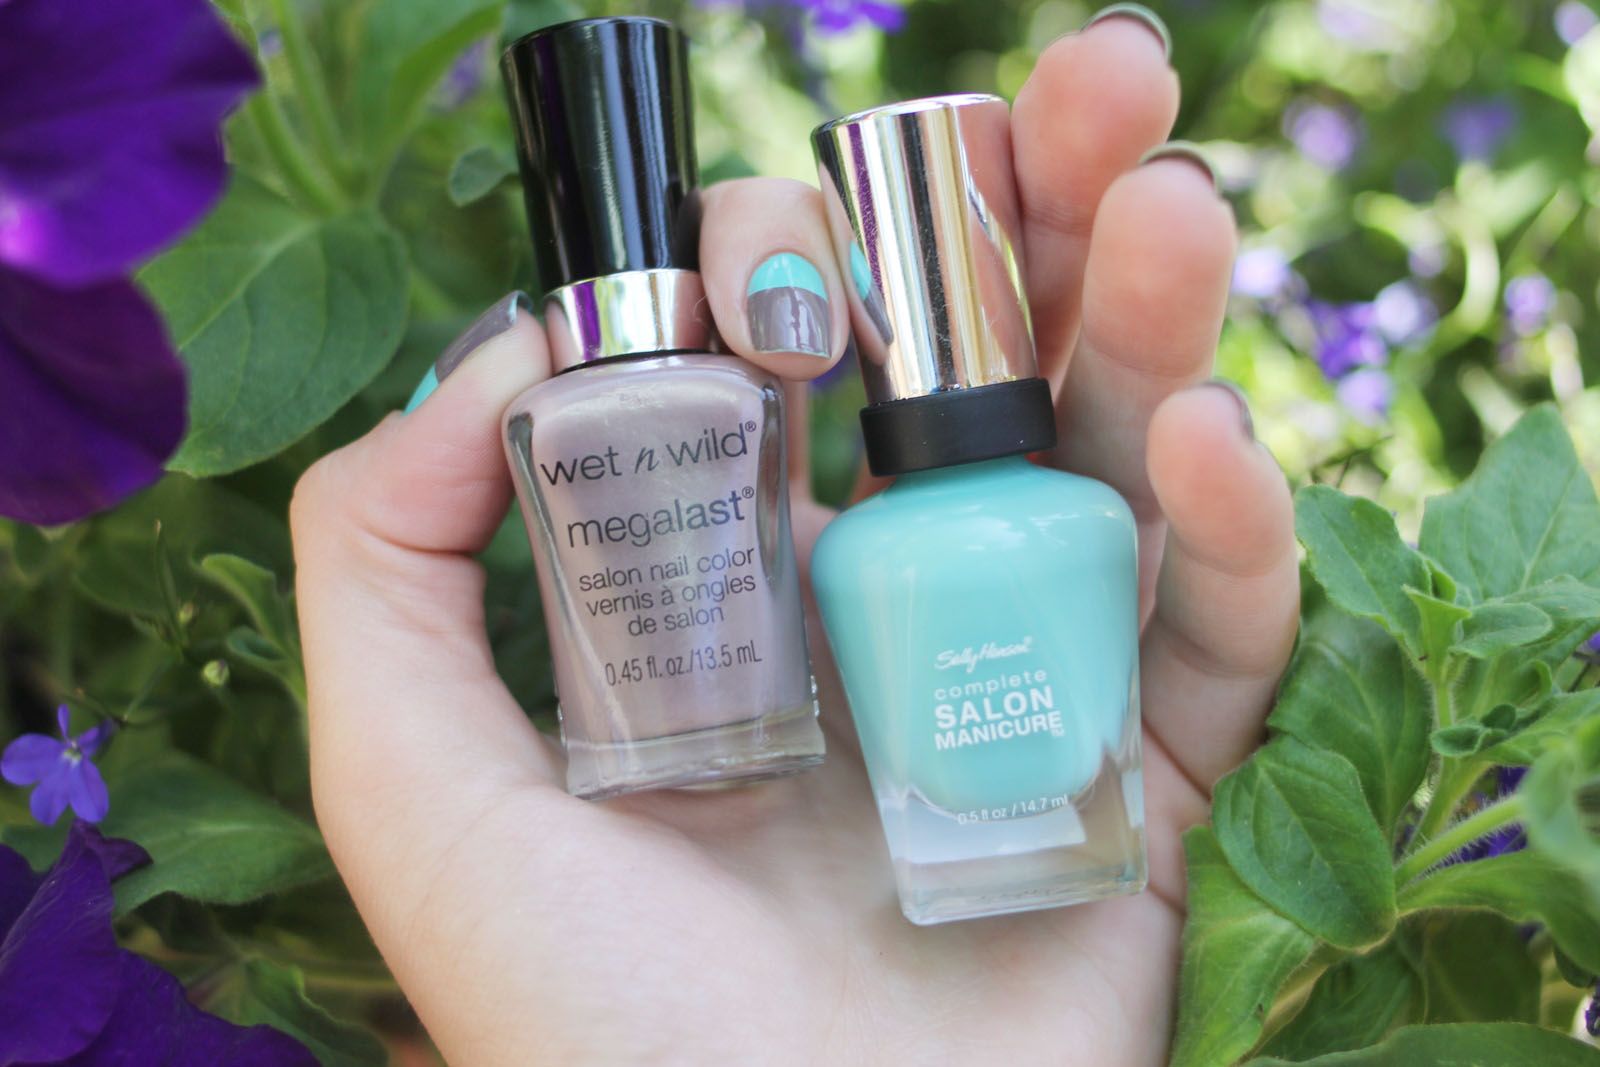
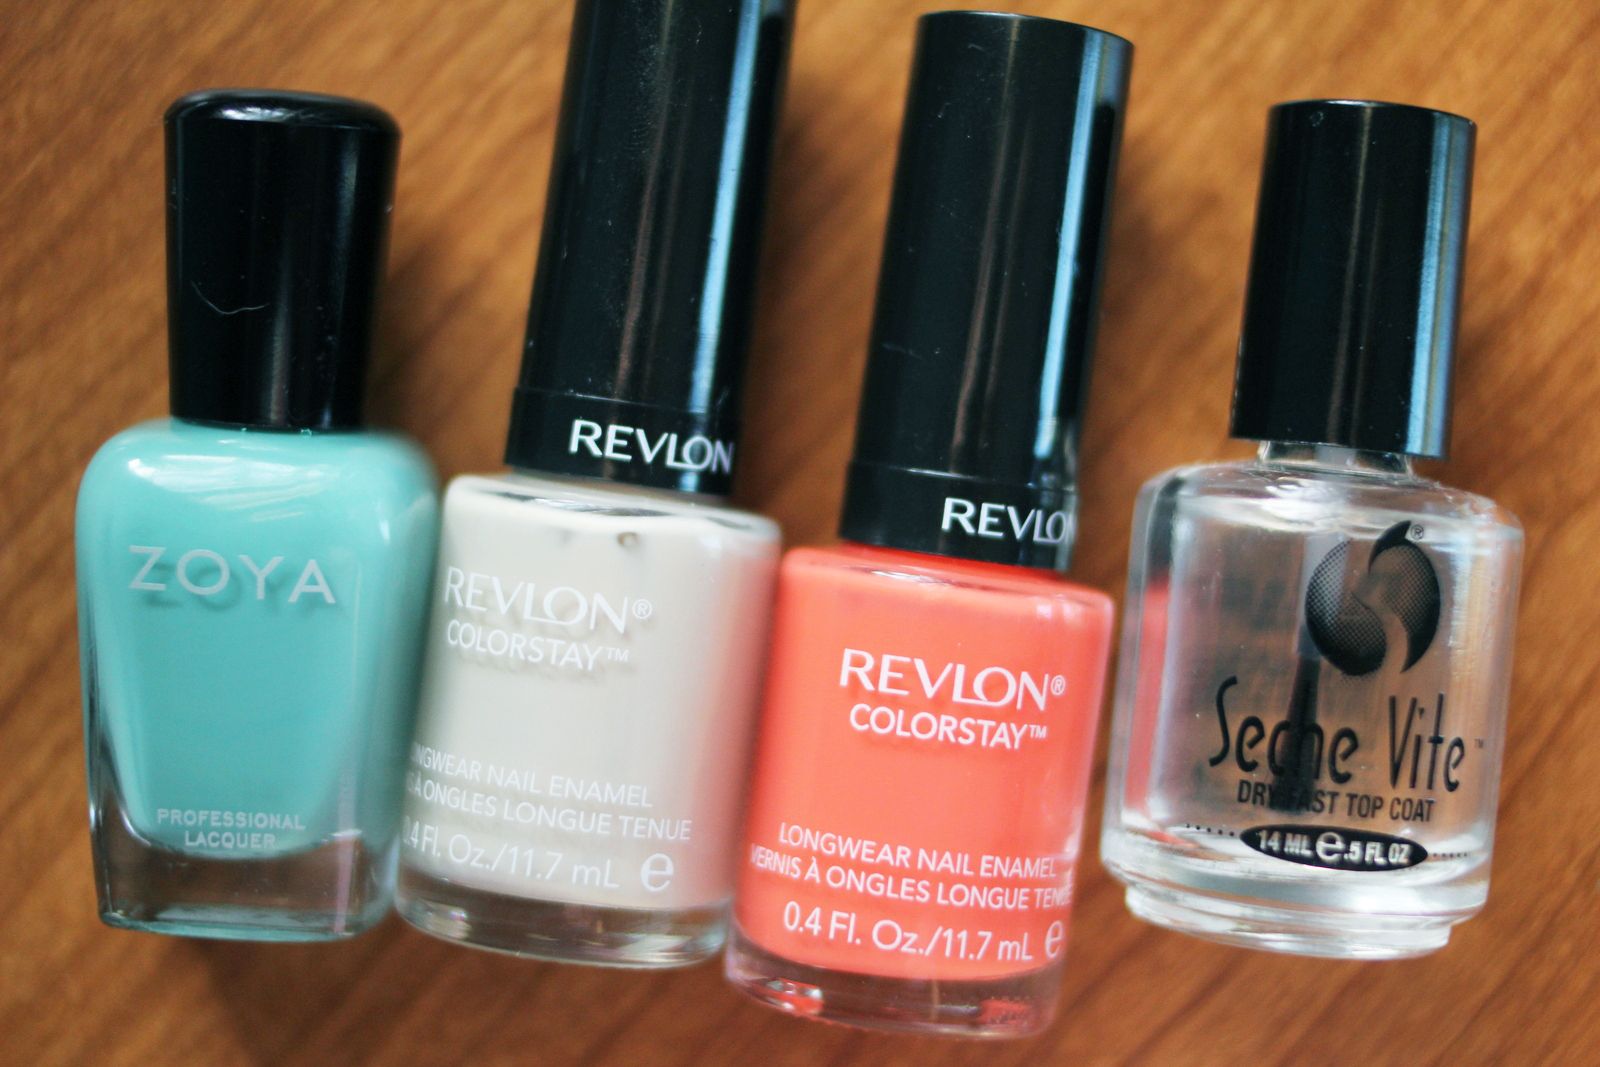
Supplies used...
Sally Hansen - Thinking of Blue
Milani - Fresh Teal
Seche Vite as a top coat
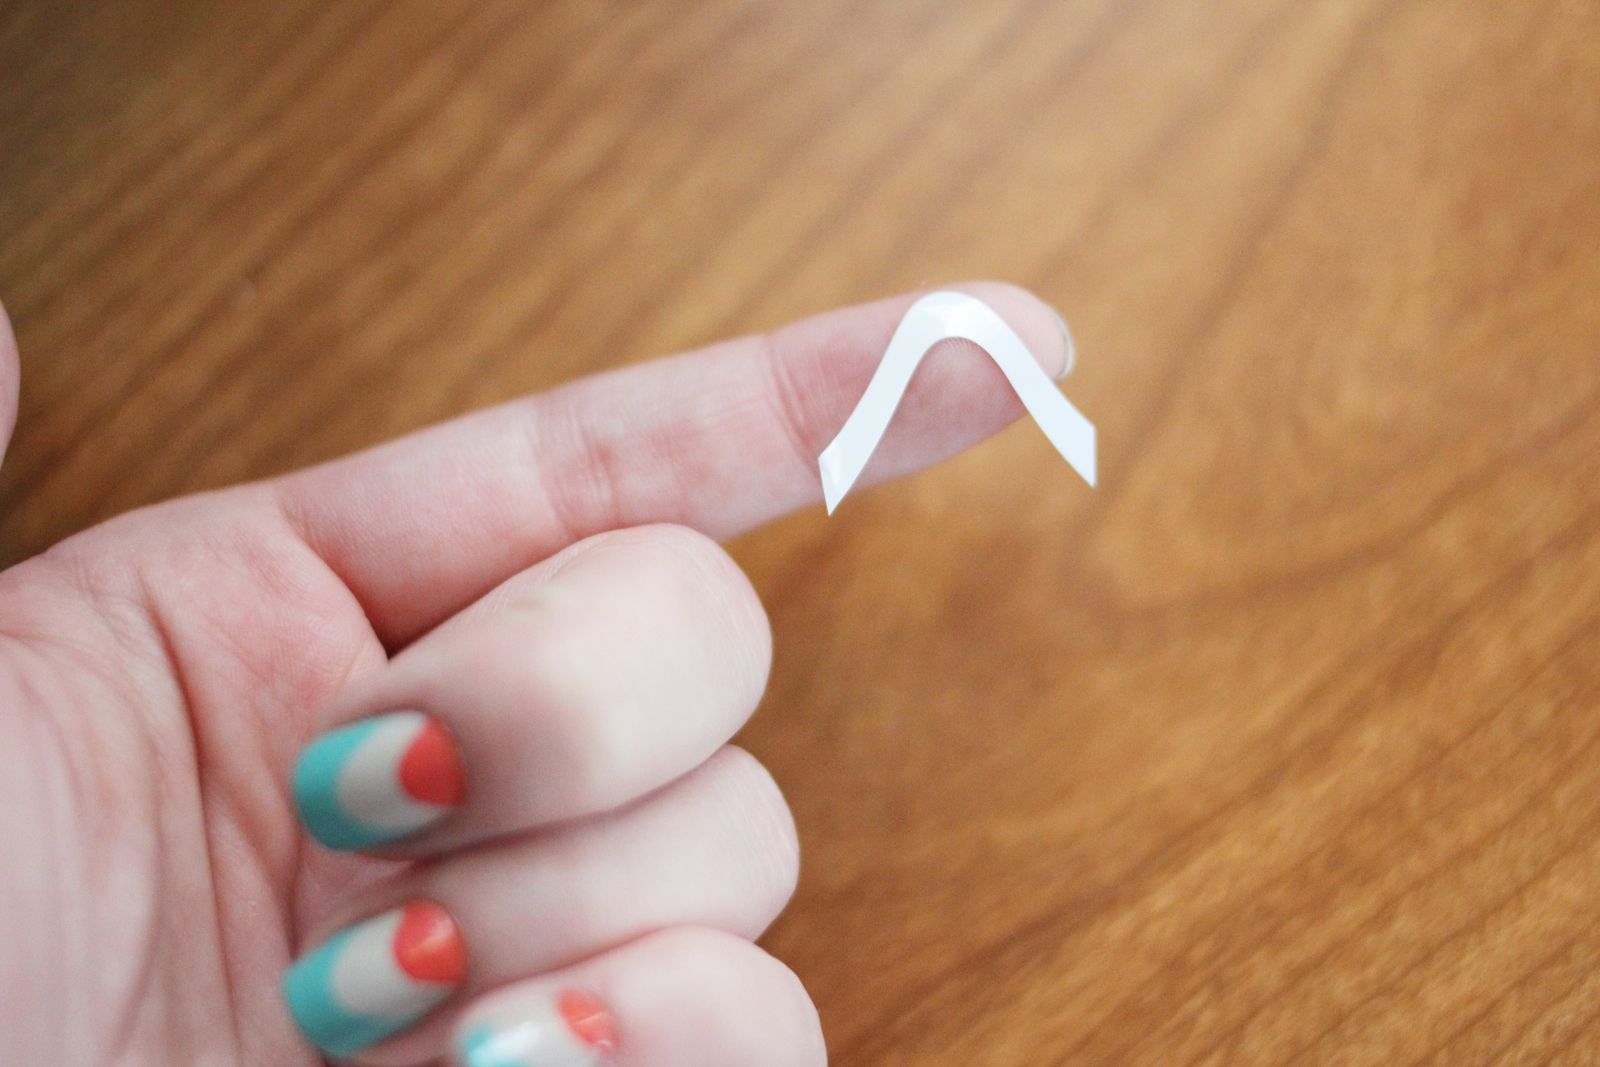
Nail stickers (blogged about here // bought from here

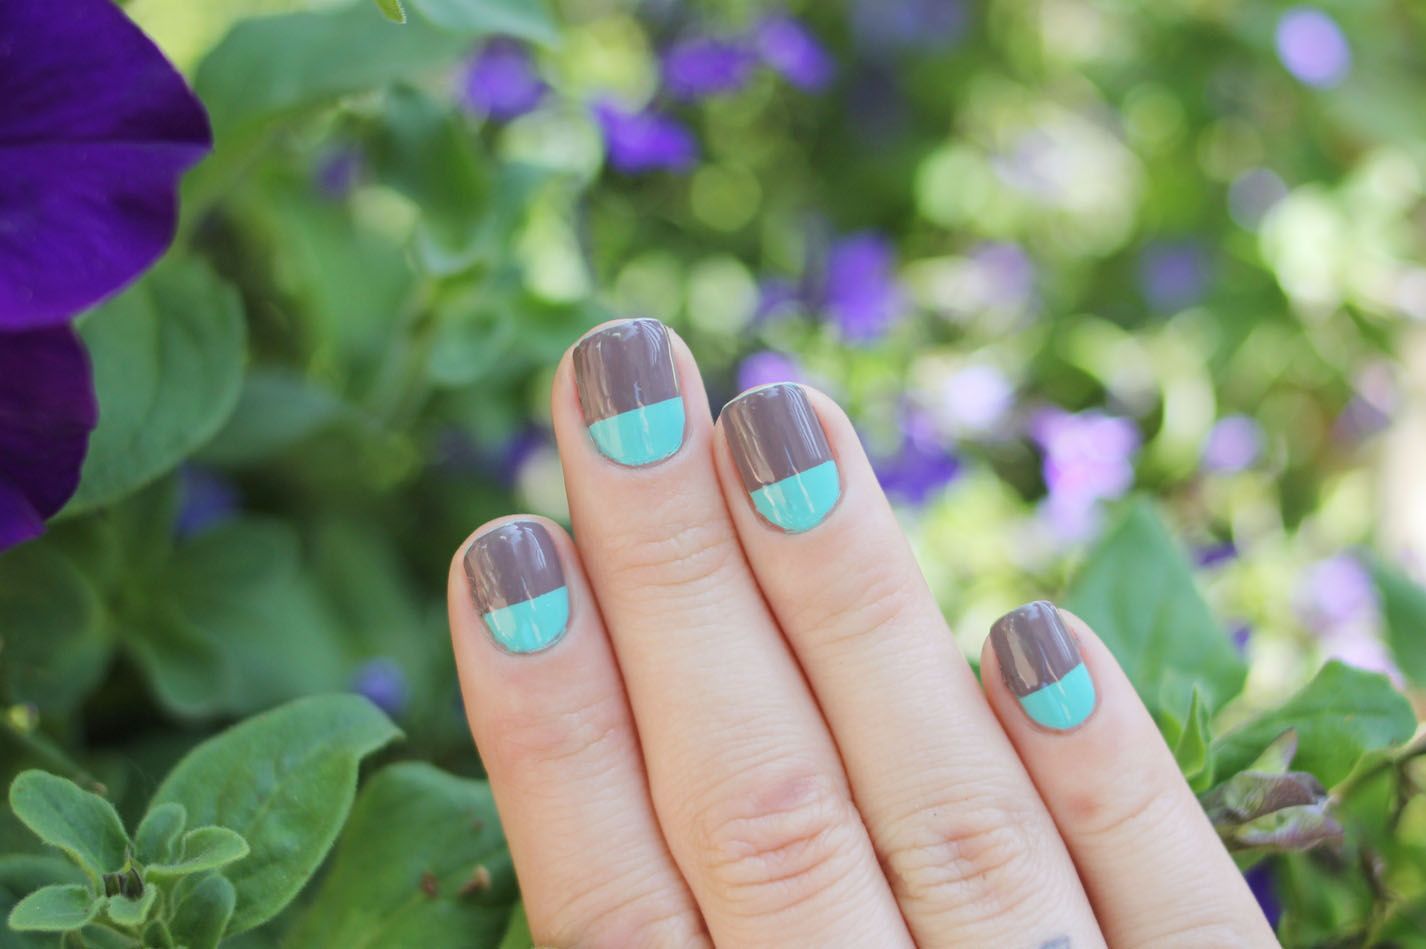
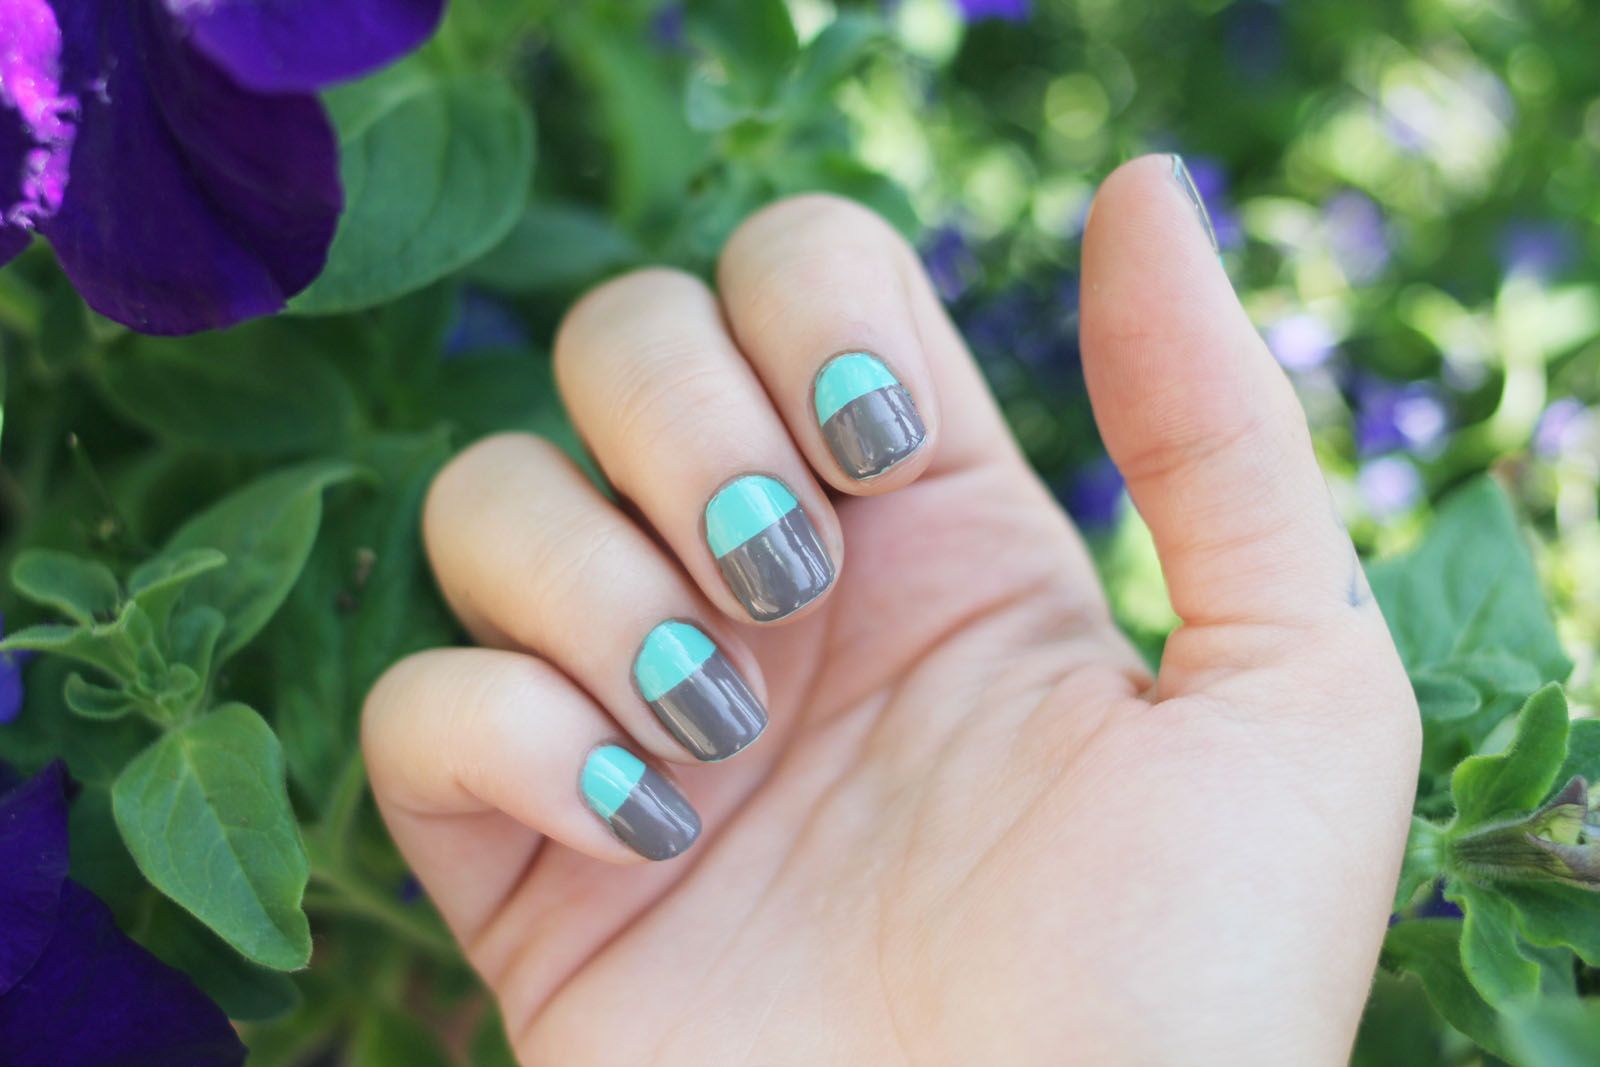
These nails just sort of happened when I was too lazy to put down a color before using one of the nail stickers. For once being lazy actually worked to my advantage when doing my nails, I think it looks super neat! I even did my nails the same way, just with a different sticker and colors, later in the week.

Hope you're all having a fabulous weekend. I'm sort of recovering from last week this weekend. Elycia just left yesterday after a week long visit and I am beat! We were constantly going, going, going -taking pictures, making a hilarious video, thrifting, splashing in the waves of Lake Erie and going to see mewithoutYou. It was an absolute blast. Luckily it looks like it's going to be a rainy day, perfect for lounging and some light house work.
xoxo

Sunday, July 8, 2012

Weekly Nail

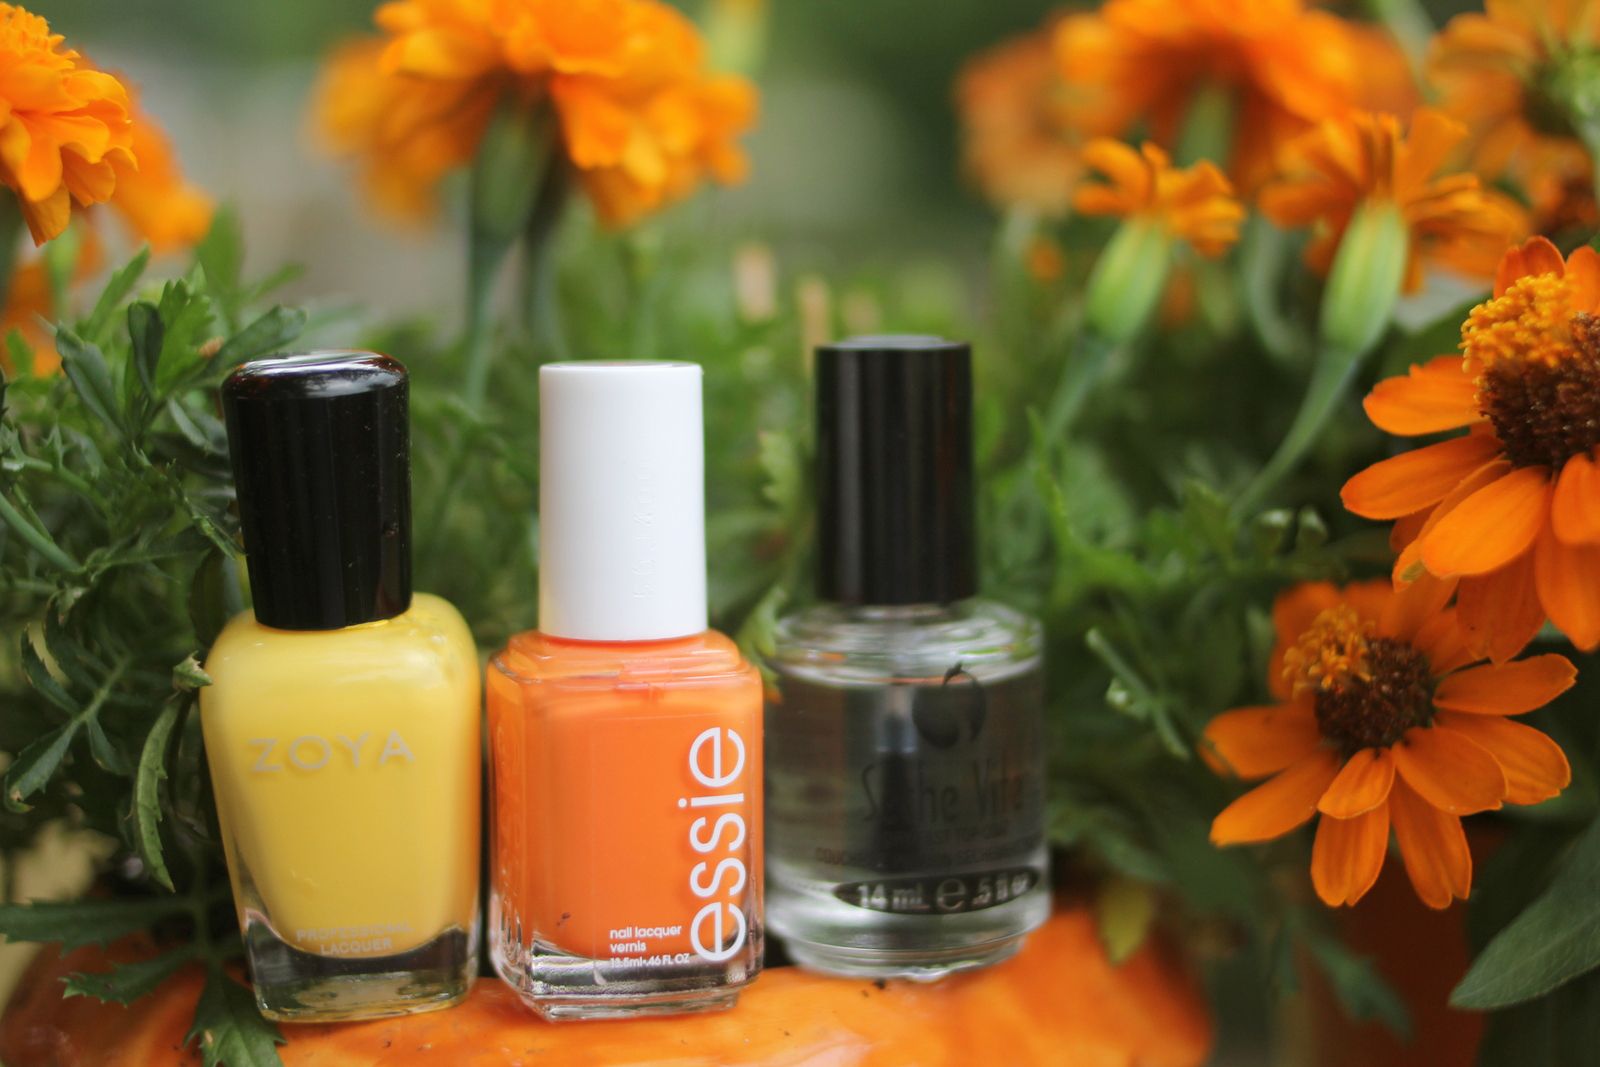
Supplies used...
Zoya Pippa
Essie Fear or Desire
Seche Vite as a top coat
Cosmetics sponge 

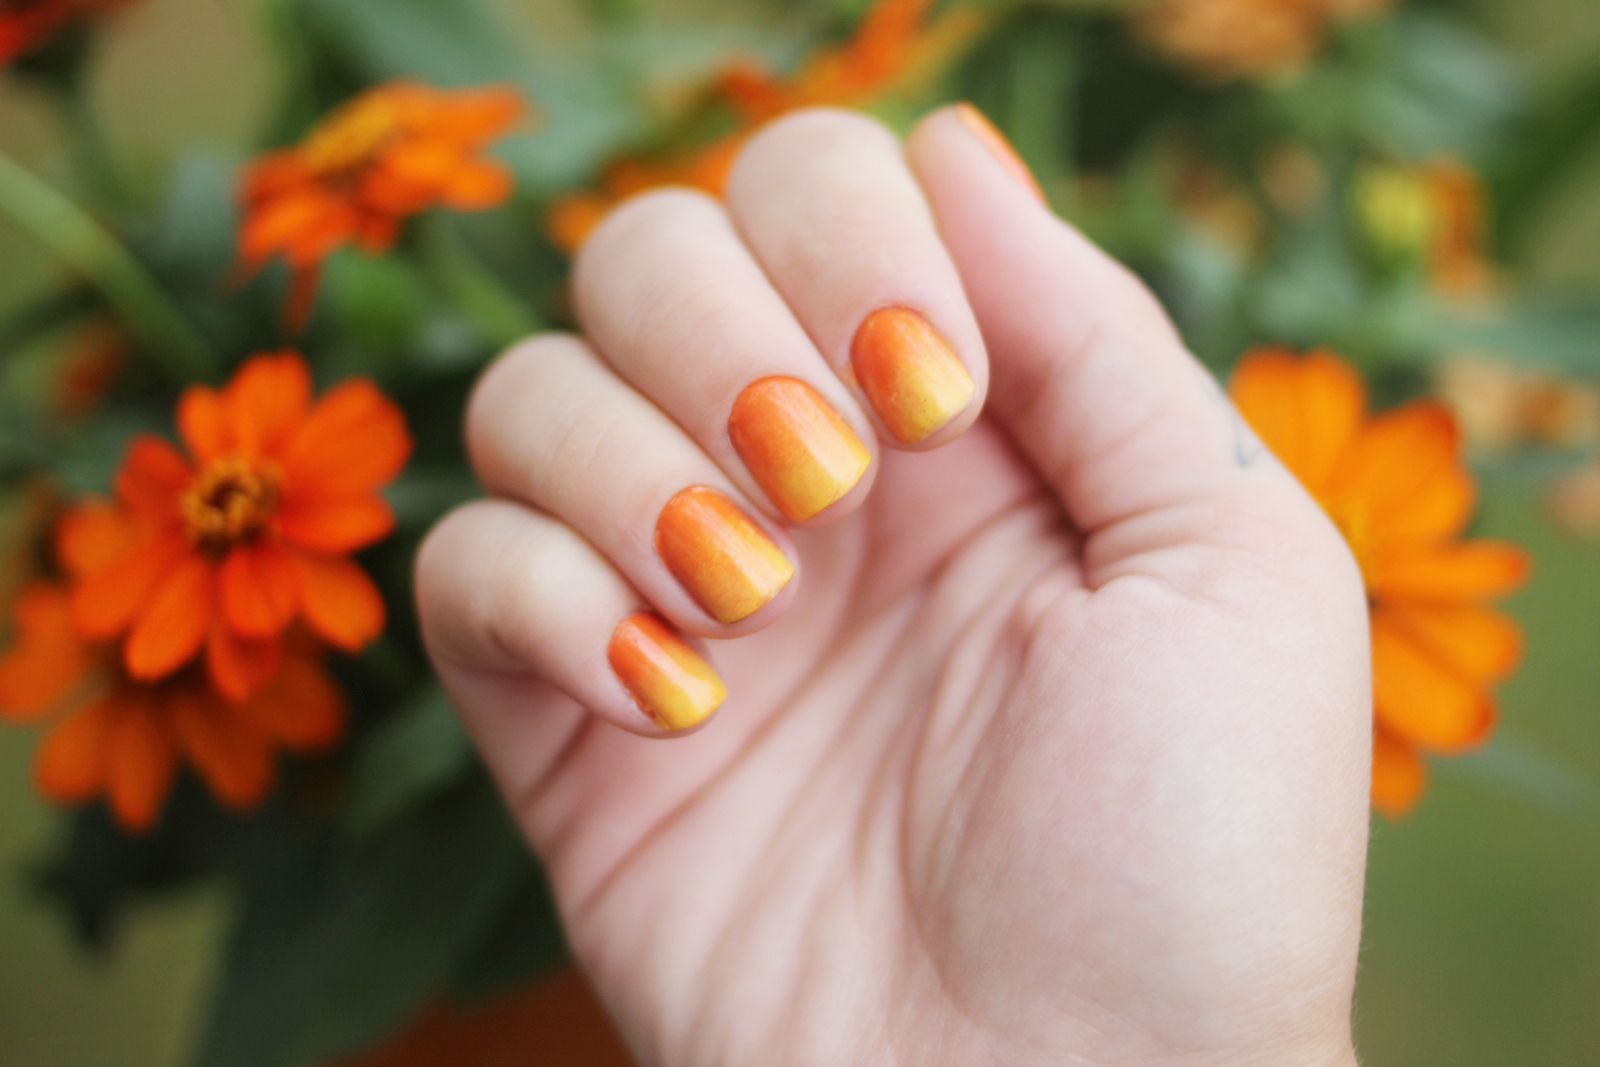
My second try at gradient nails was much more successful than the first. I am just craaaazy about these. I'm not sure I can count the number of times I've shoved them in Kevin's face saying "LOOK! Aren't they beeeeeautiful?!" I have a feeling they're going to be happening a lot more often now that I've got the hang of it. Every idea I have to paint my nails involves gradient.

I'm smitten with this new orange from Essie. What I've bought from their summer line so far has all been awesome but this orange might take the cake for me. Like white nail polish, I had trouble finding a good orange. Every one I've ever owned has been streaky and just generally didn't cover well. This Fear or Desire went on so very nice!
...And I have to include a photo of Lloyd because he hung out by my feet while I was taking the pictures of my nails. I love this guy so much. It's the best when I'm on the deck watering plants in the morning and when I turn around all of a sudden he's standing there meowing.
Hope you're having a fabulous Sunday!
xoxo

Sunday, July 1, 2012

Weekly Nail

Supplies used...
Wet n' Wild On A Trip
Milani Fresh Teal
Seche Vite as a top coat
Cosmetics sponge 

This was my first attempt at gradient nails, except they kind of came out looking more like tie dye.  Haha! Clearly I need a little bit more practice, but I am excited to try again with lots of other colors. The Nailasaurus has a pretty awesome tutorial on how to do gradient nails, which is what I used. I think the biggest difference from the tutorial and what I did is that I used a cosmetics sponge so it was a lot less porous than a kitchen sponge and I didn't get the speckley look I was trying for.

Back when I posted my 10 favorite nail polishes  and asked what everyone's favorites were I was recommended Milani Fresh Teal. (Thanks Kaili). I saw it at the drug store a few weeks back and had to grab it, the color on the bottle is gorgeous. BUT the bottle isn't clear so what you see isn't even close to what the polish actually looks like. That was a huge let down but I still really love the color that was inside the bottle. It's quickly shimmied it's way into my favorites. I've been using it quiet often! It goes on in nearly one coat and has a great consistency.

Hope you're having a fabulous Sunday!
xoxo

Sunday, June 24, 2012

weekly nail

Supplies used....
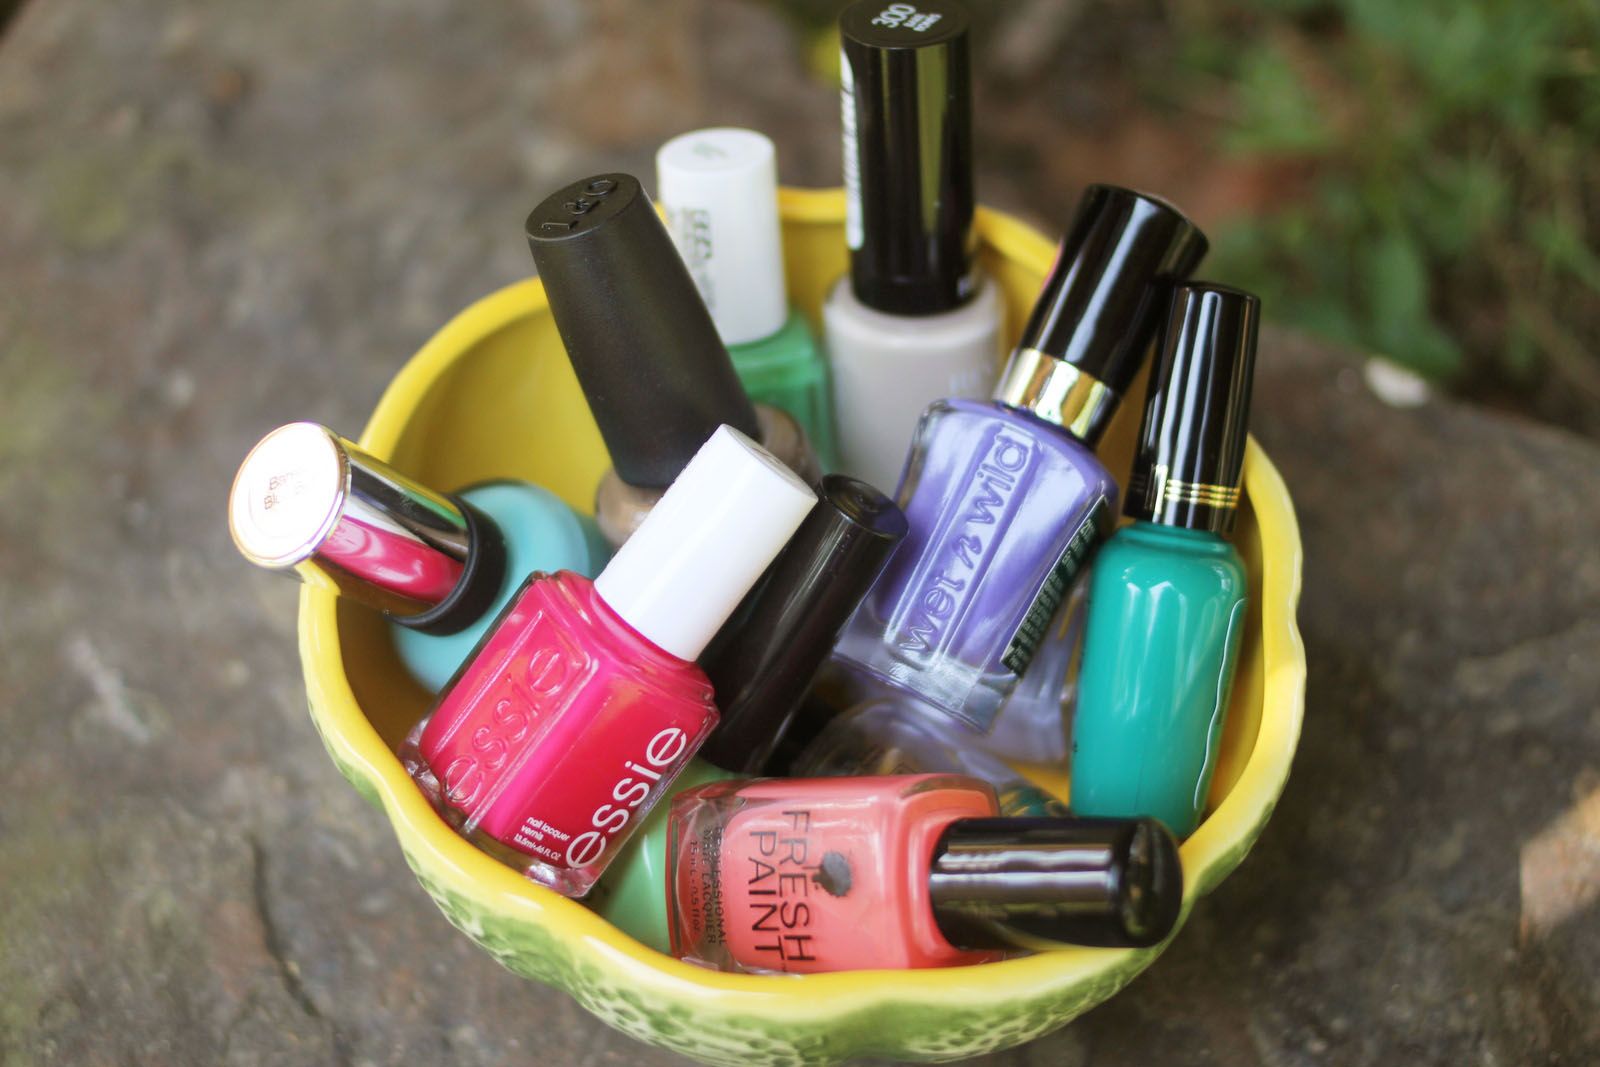
Funky Fingers - Mint Montauk
Milani - Fresh Teal
Sally Hansen - Barely Blue Bell
Essie - Mojito Madness
Wet n Wild - On A Trip
Essie - Lilacism
Essie - Watermelon
Fresh Paint - Papaya
OPI - A Taupe The Space Needle
Revlon - Bare Bones
Seche Vite as a top coat
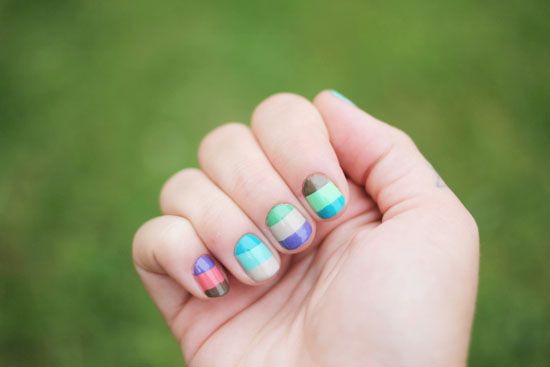
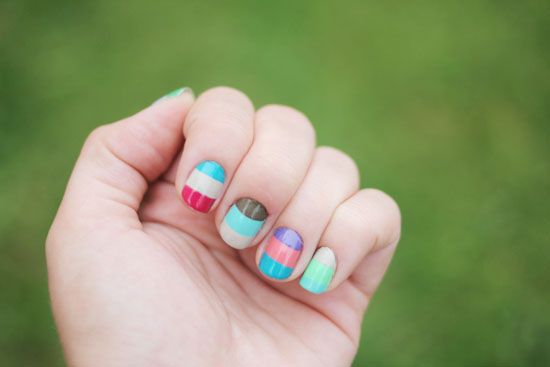
Nail stickers (blogged about here // bought from here)

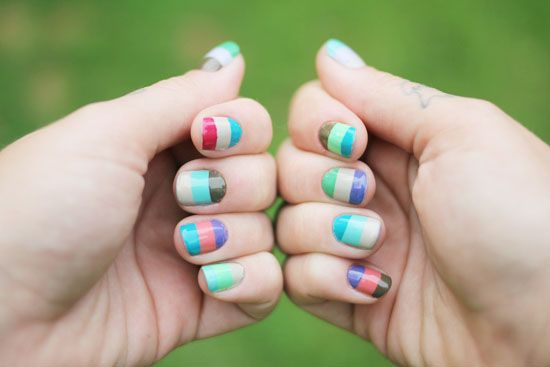
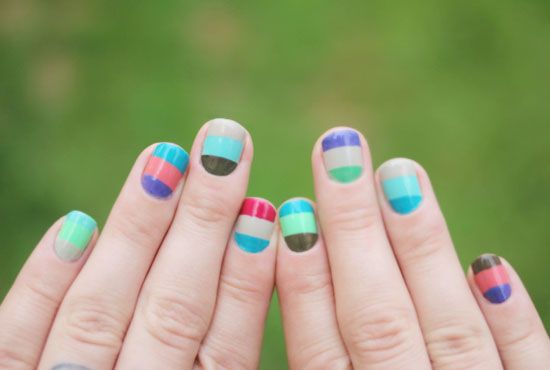
Admittedly these aren't my neatest nails, they're a little rough around the edges. But I am obsessed with how they look! I always try too hard to make sure my nail colors match and even found it a little challenging to try and make them look random. Pretty sure I succeeded! I also think this might be my newest obsession, doing tons of colors. These were from earlier in the week and I've already done it over in different colors twice. It's just fun to pick out all the polishes I'm going to use!

I used the slightly rounded nail stickers for this manicure (you can find them here), they're the same ones you'd be using if you were doing a standard french manicure.  They've become my most used from all the different designs I have. Having a just slightly rounded line instead of straight line is so much nicer looking in my opinion.
xoxo

Tuesday, June 19, 2012

my nail essentials

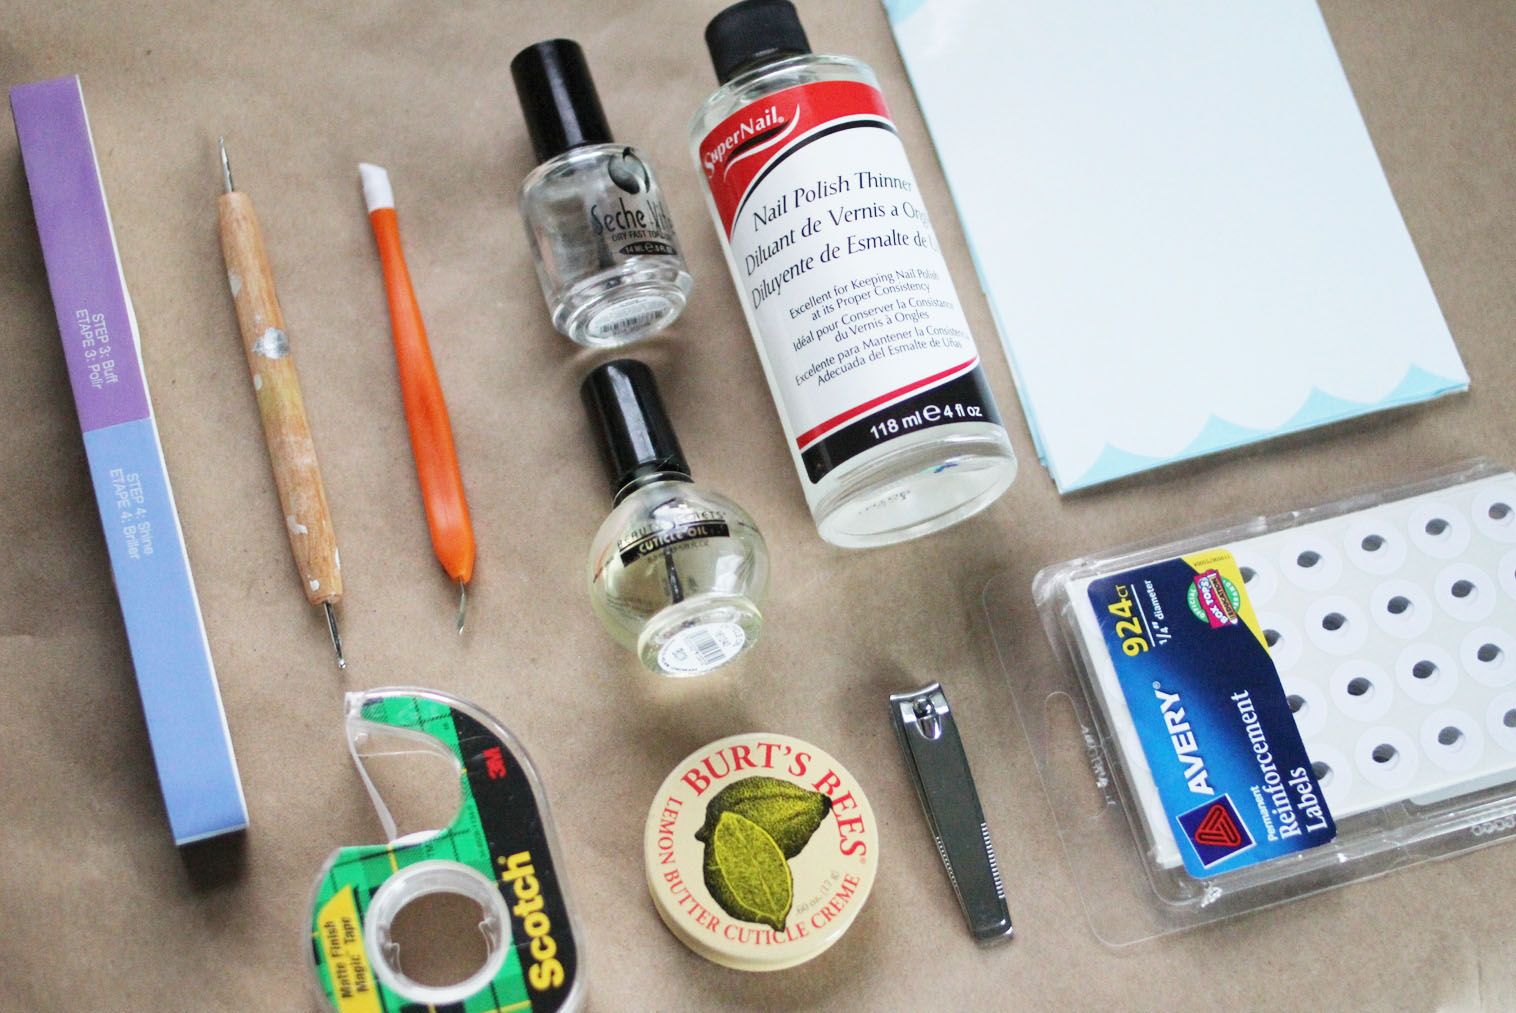
After starting my weekly nail feature I started getting questions about how I keep my cuticles so nice. While my cuticles aren't perfect, I do take pride in them because they're amazing compared to what they used to be. I decided instead of just talking about my cuticles in this post I would share all of my favorite nail tools, both for care and designs.
So, without further a do, these are some of my favorite tools...
A six sided nail file (or emery board). I found this nail file at WalMart around a year ago (I've gone through two or three since...) and I have not looked back! It's numbered 1-6 on each different colored section and you just go through the steps on each nail. After you're done you'll have beautiful, shiny nails! I would never use a regular nail file again. A word of caution though - overuse will most likely result in peeling and breaking.

Dotting tool. Used to make polka dots, this baby is a must in my little basket of nail supplies. It has two sides, each a different size so you can make different size polka dots. It's so much easier than a tooth pick for me because it's larger and easier to hold on to.

Cuticle pusher. Exactly what it sounds like, i love to push my cuticles back. It makes your nails appear longer and look nicer. Tip: it's best to use a cuticle pusher after showering or applying oil of some sort so your cuticles are soft.
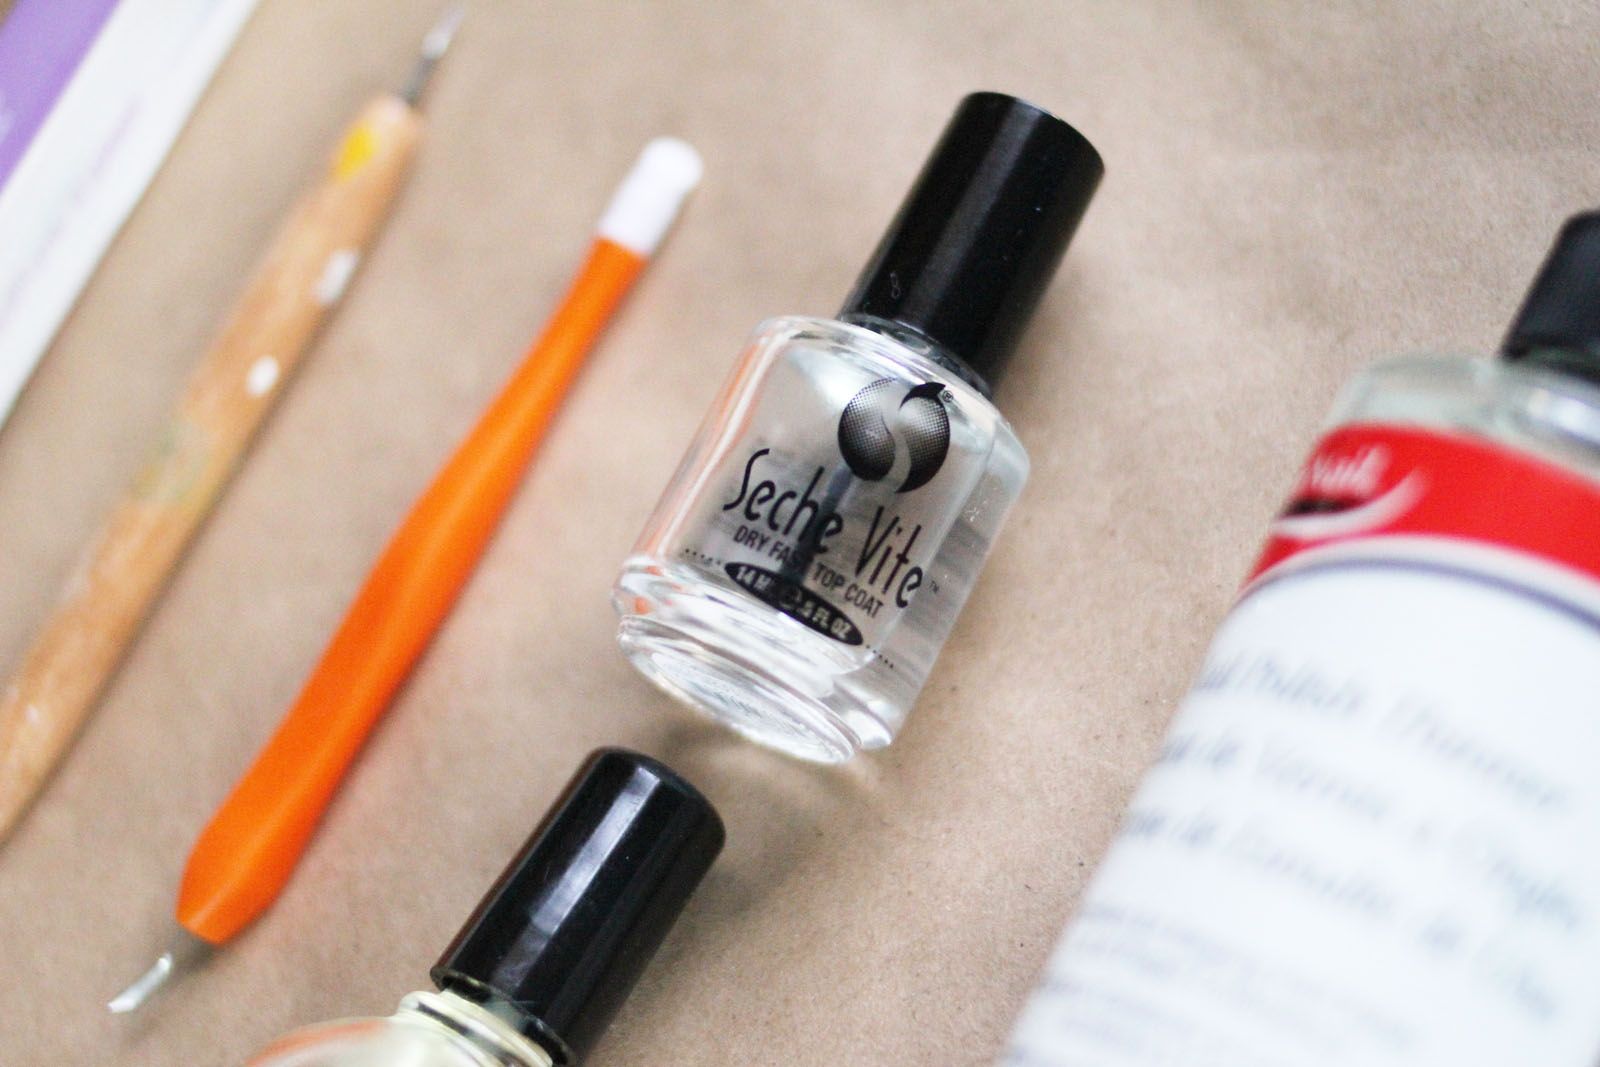
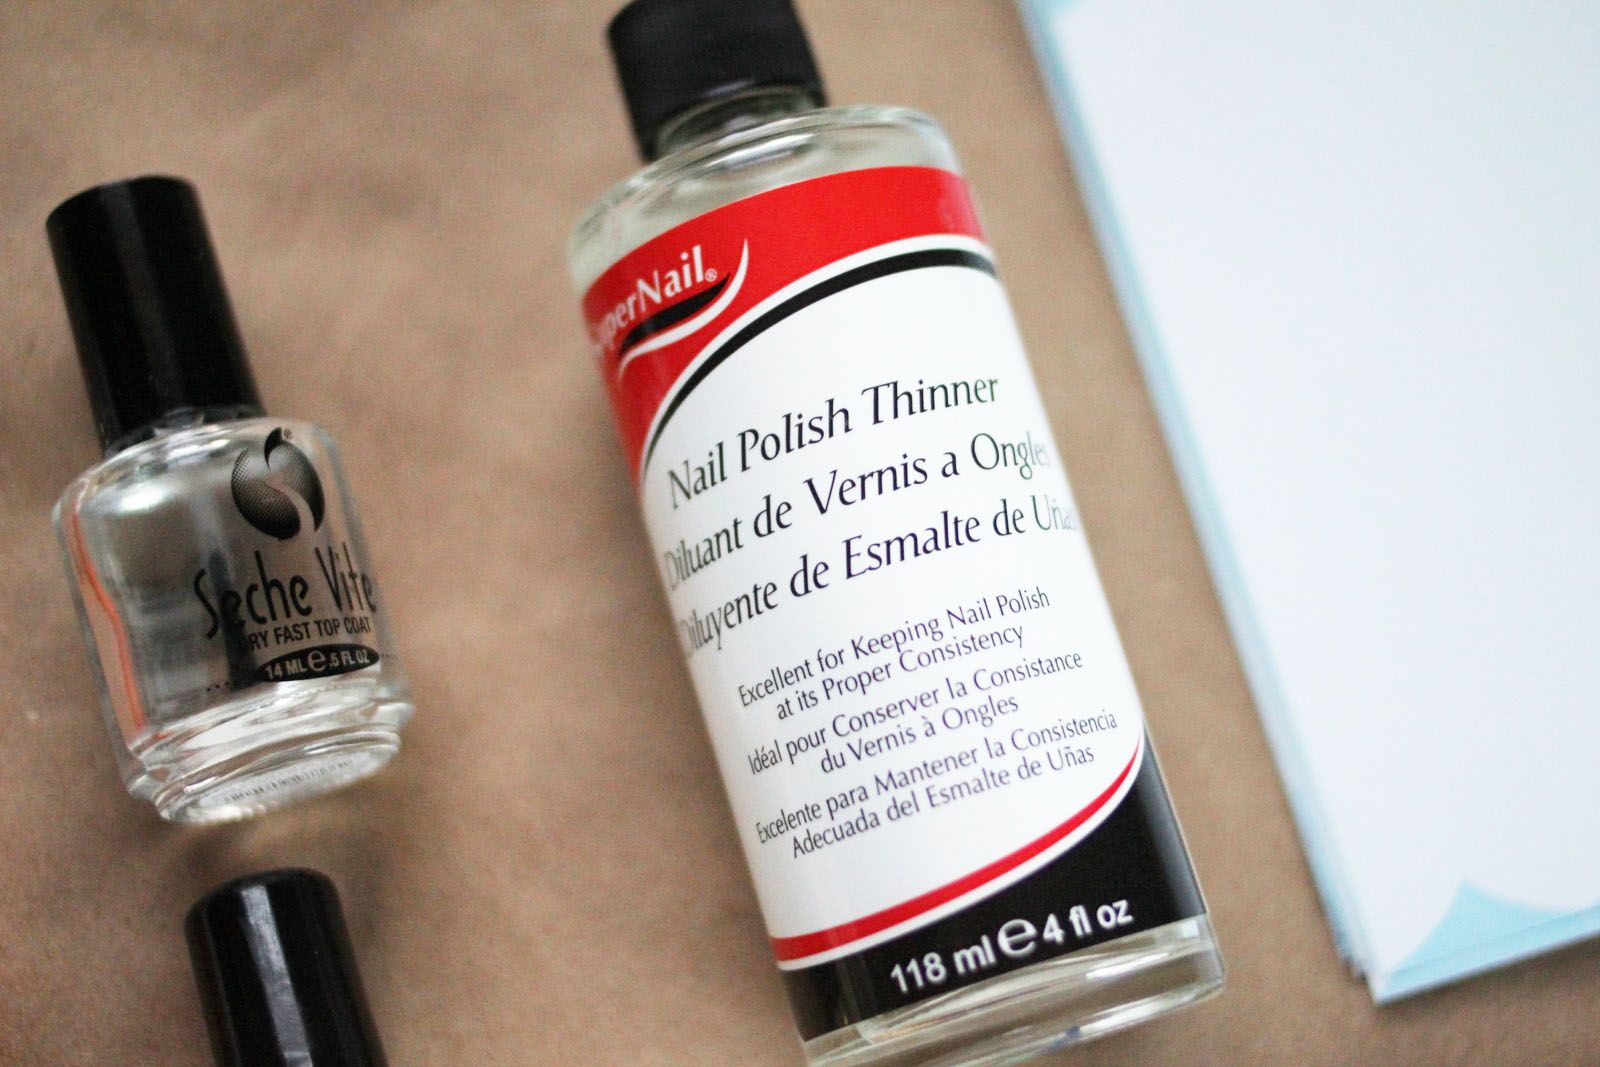
Seche Vite. I wasn't sure if I wanted to include Seche Vite in this post or one talking about my favorite polishes but this top coat is AMAZING. Let me say it again - AMAZING. It's a great consistency, makes your polish last for days and days and it gives such a nice shine! Other top coats pale in comparison.
Nail polish thinner. This is actually something I didn't even know existed until late last year. It's a miracle worker. You just take an eye dropper (obviously one you plan to designate to this purpose!) and put just a few drops into any nail polish that is getting thick, shake and then TA-DAAA, it's like new...sometimes even better! I've used it multiple times on a few of my polishes and haven't noticed any more chips or anything than normal. With this stuff you can rescue all your favorites that you were considering throwing away because they got thick.

Scotch tape, nail stickers and hole reinforcement stickers are all a must! Even though my discovery of nail stickers has made scotch tape a little less of a necessity it's still nice to have on hand for simple designs like this.
Burt's Bees Lemon Butter Cuticle Creme, Cuticle oil and Lotion. I think the biggest thing to having nice looking cuticles is keeping them moisturized. I use cuticle oil and the Burt's Bees cuticle creme interchangeably. Sometimes I rub them on before polishing my nails (just make sure to wipe off your nail with a clean rag before painting so it's not greasy) so my cuticles are refreshed after using nail polish remover. Other times I apply some after my nail polish is dry. Make sure to massage your cuticles so it really gets in there! For lotion I love EOS, it comes in a size nice to just throw in your purse and it doesn't leave my hands greasy.

What are your nail essentials? 
xoxo


Sunday, June 17, 2012

weekly nail

Supplies used...
Maybelline Go-Getter Green
Funky Fingers Mint Montauk*
Essie Mojito Madness
Essie Pretty Edgy
Revlon Top Speed Emerald
Jordana Glitters Cosmic*

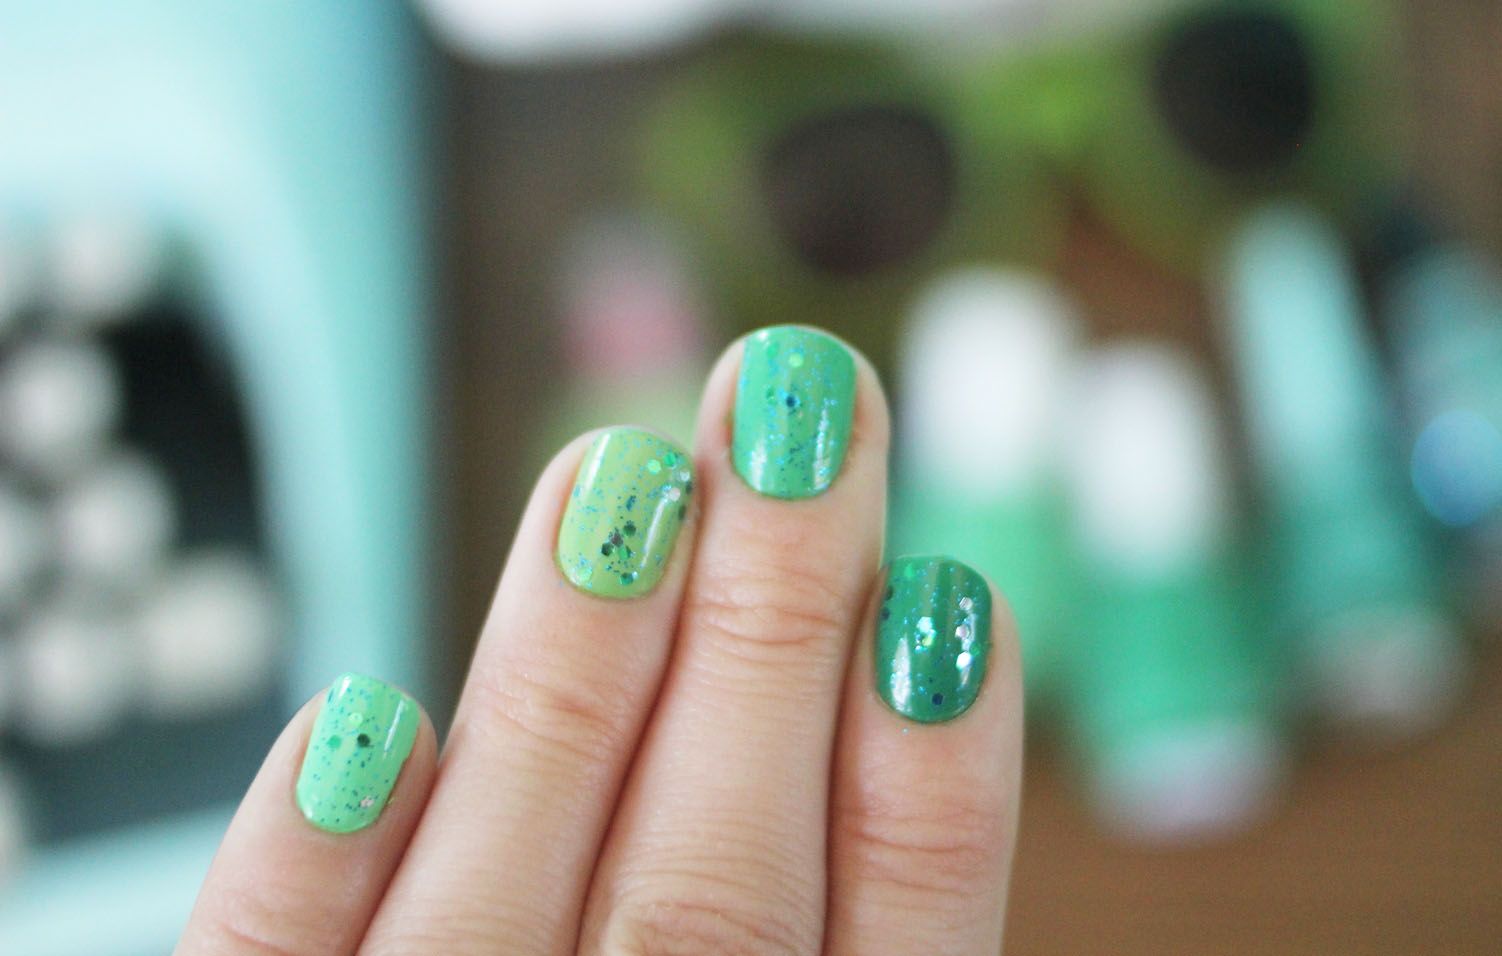
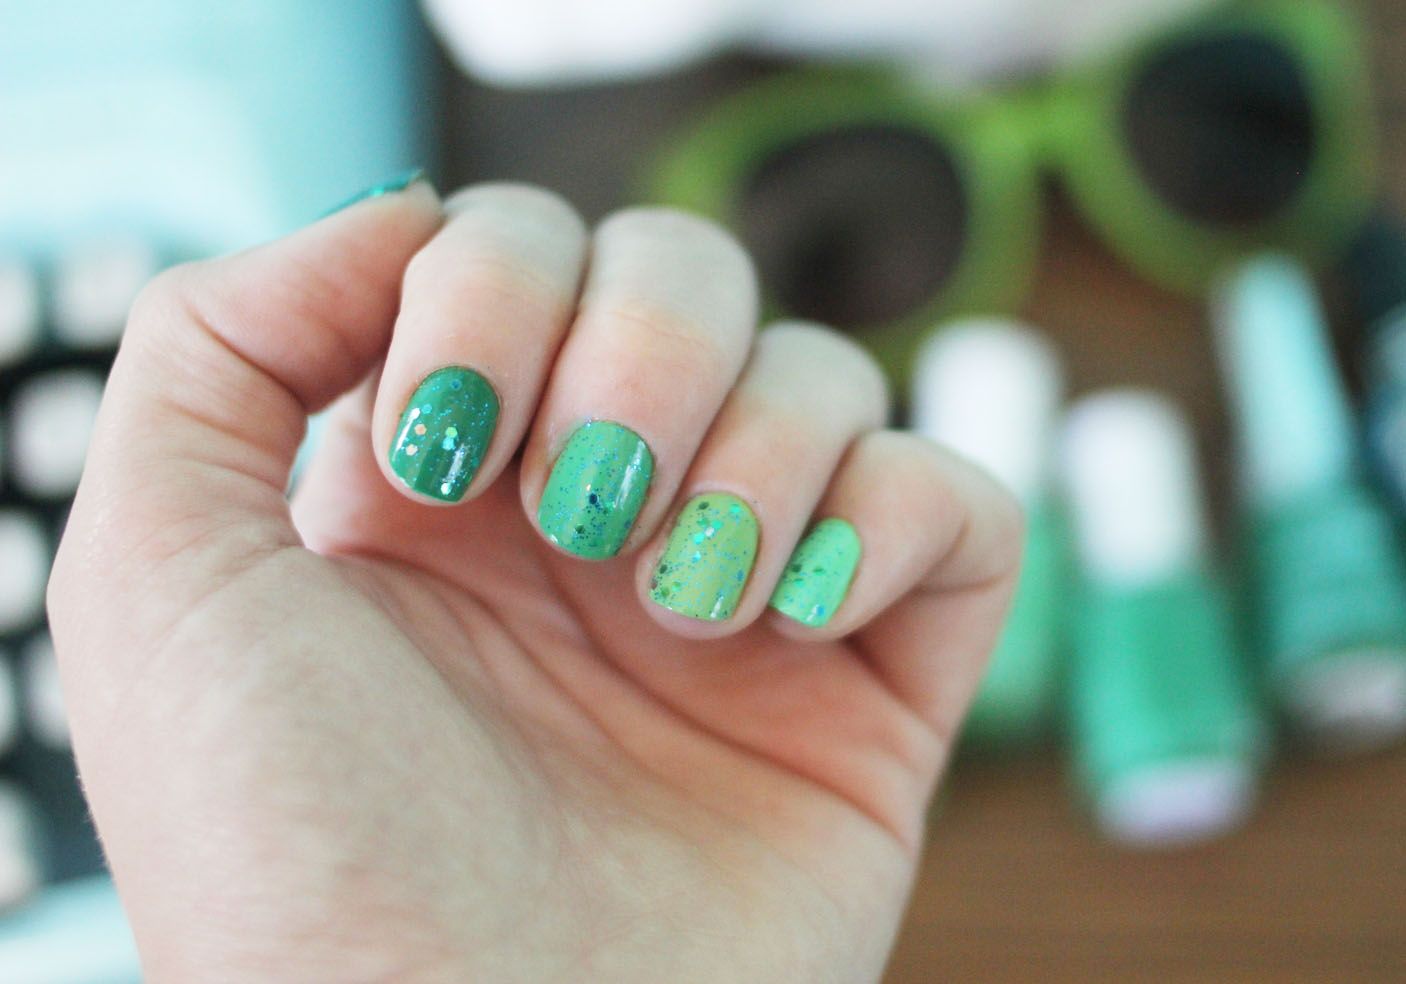
This week's weekly nail is nothing too spectacular. I painted my fingers each a different color with plans to do a design with the nail stickers on top of that the next day. But before I could get a chance to do that I started spray painting a swing for our patio which inevitably got all over my hands. (I have no idea how it happens but I am so messy with spray paint!) I did my best to scrub it off but in doing so I chipped my nail polish and long story short I just figured the best thing to do would be to just cover it in glitter (which is what I always do when I'm too lazy to give myself a fancy manicure). But I did really end up liking it which is all that matters.

I had never used this glitter before. I bought it on a whim along with another glitter polish that looked just like a more expensive one that I already owned so I'd have a replacement when it ran out. As it ended up, the cheaper version of my favorite glitter didn't live up to my expectations so I figured this one would be just as lame. I actually ended up really liking it though. The larger chunks of glitter spread fairly nicely and I absolutely love how the blue/green glitter looks on top of the green polish. It looks pretty mermaid-y in person, especially in the sunlight.
Hope you're having a great Sunday! This weekend is flying by way too fast.
xoxo

*These two polishes are apparently hard to find online (or at least I couldn't find them on amazon) but Funky Fingers can be bought at Five Below, and Jordana Glitters from KMart.

Sunday, June 10, 2012

weekly nail

Supplies used... 
Wet n' Wild - Wet Cement
Sally Hansen Complete Salon Manicure - Barely Blue Bell **
Seche Vite as a top coat.
Nail stickers (blogged about here // bought from here)

I bought both of these colors recently. I'm obsessed with mint/ light blue nail polishes. It apparently doesn't matter how many of them I own, I just have to buy another. But this one is just fabulous, it's tied in first place (for my mint polishes) with Zoya's Wednesday. I find that most similar colors don't coat well but this one is an awesome consistency and needed around one and a half coats (I consider a half coat just touching up areas that didn't cover well). 

Actually speaking of certain colors not coating well I have this problem with a lot of light colors. I have never painted my nails white and thought that it looked nice. It always is streaky and weird. I've tried so many different brands of white too. Anyone else have this problem? Maybe I'm just too picky about it. It's a bummer because I have so many awesome nail ideas I'd like to try but they would look best with a white base coat.
Hope you're having a great Sunday.
xoxo

**Just a note about the price of that nail polish - I have no idea why it's sooo expensive on amazon. But I'm sure you can find it at any drug store. It's only around 5 or 6 dollars at walmart.

Sunday, June 3, 2012

weekly nail

Supplies used...
Zoya - Wednesday
Revlon - Bare Bones
Revlon - Marmalade
Seche Vite as a top coat.
Nail stickers (blogged about here // bought from here)

I super duper love these colors together. These three are all apart of my top 10 favorite polishes, that's actually how I found the color inspiration - they were all on the table together! I try not to put reds, whites and blues together for a fear of it looking too patriotic but these I guess are just the right shades where that's not what they remind me of.
There are a couple other shots of these nails in an outfit post from earlier in the week if you'd like to see more.

Hope you're having a fabulous weekend!
xoxo

Wednesday, May 30, 2012

my top 10 favorite polishes

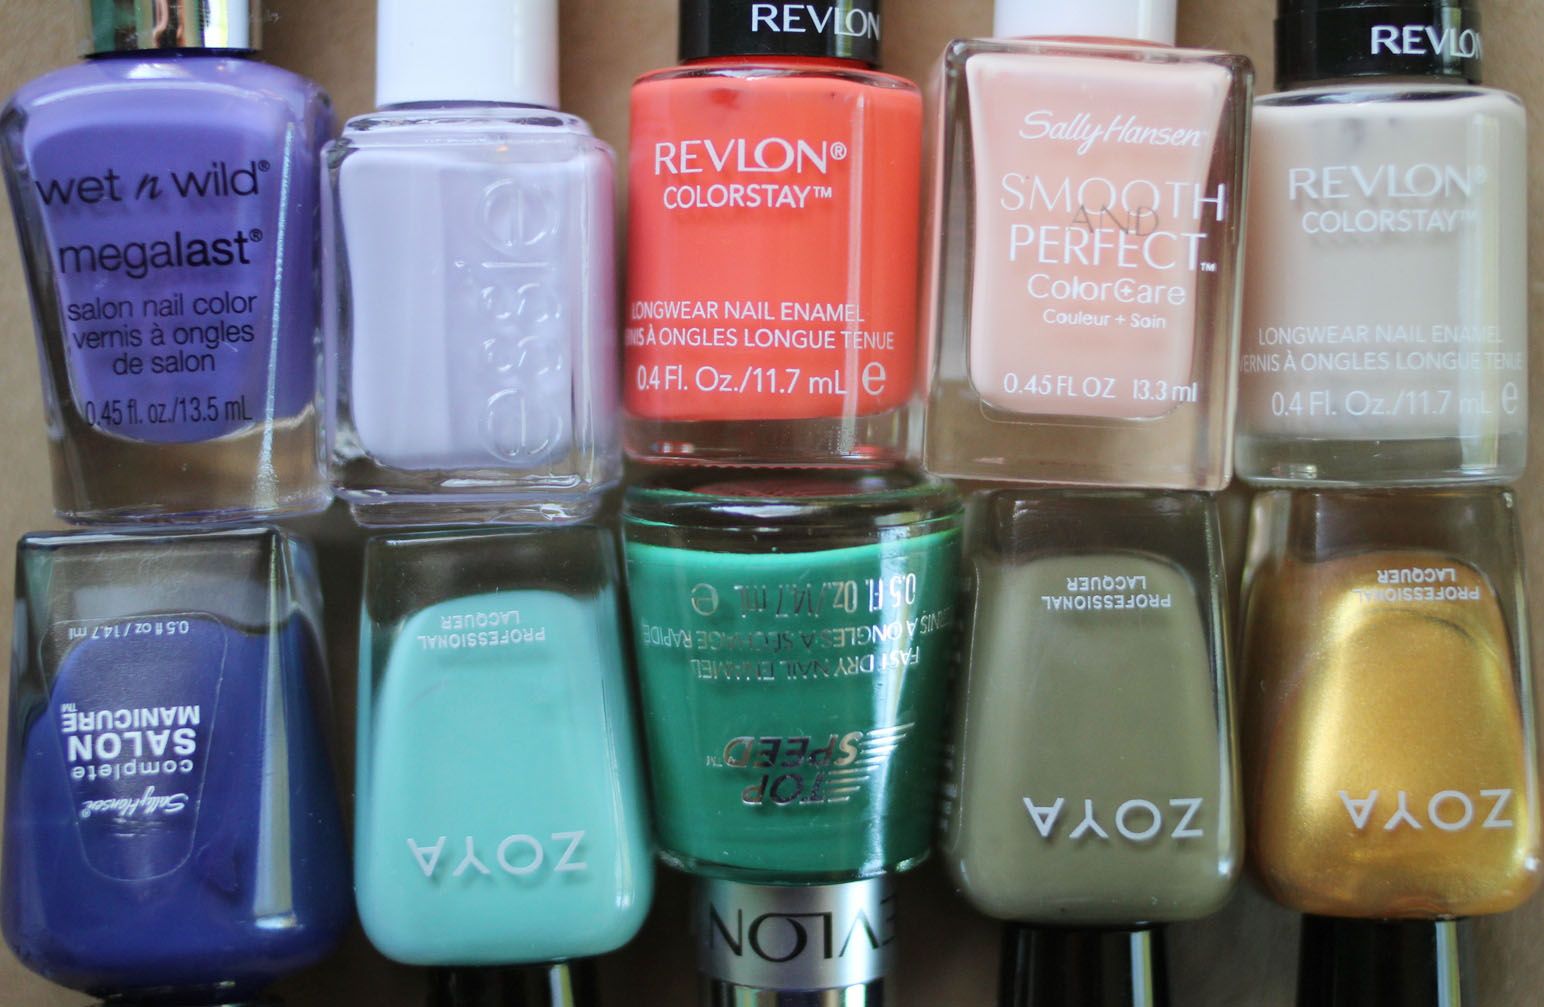
I recently cleaned out my nail polish collection and gave all the colors I don't wear away. I had just about every color you could imagine but the problem was that a lot of them weren't quality polishes. It doesn't matter how gorgeous a color is if it takes 5 coats to achieve that color and then takes an hour to dry.
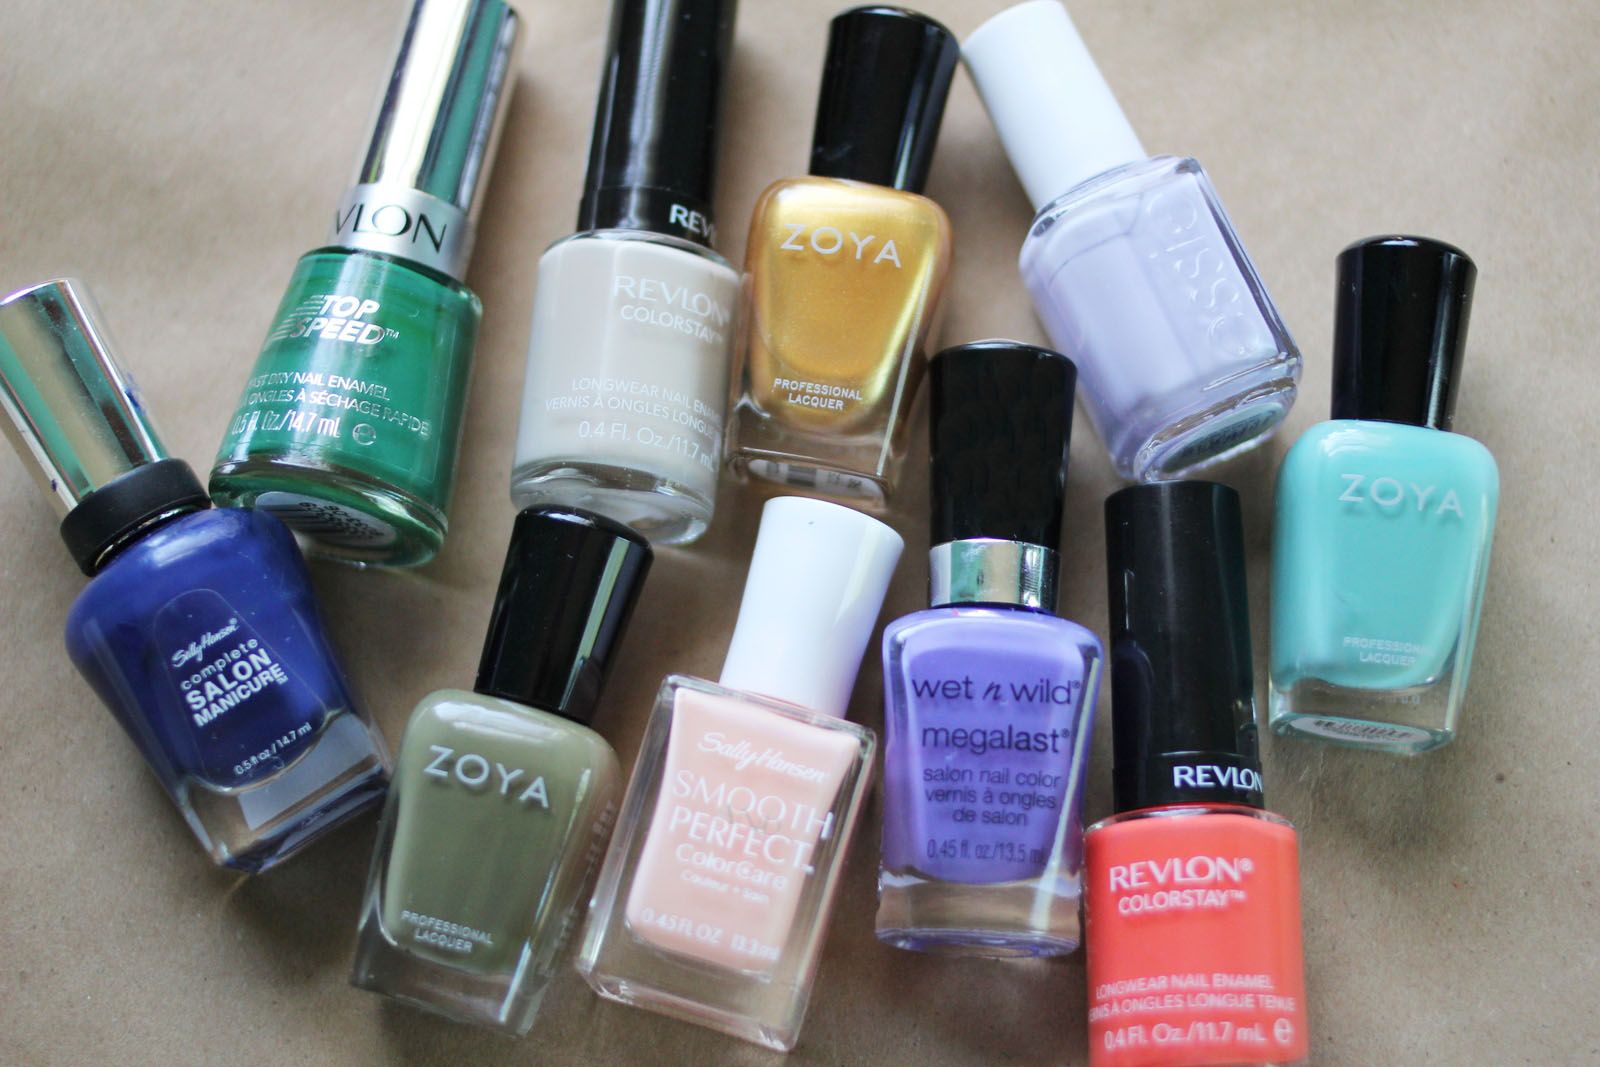
Today I thought I would share my top 10 favorite nail polishes. These ten are some of my favorites not just because they are beautiful colors but because they're great polishes that I highly recommend! They all have great consistency, dry fast and generally only need two coats for nice, full coverage. They're colors I find myself grabbing from the rack over and over again because I know I can rely on them.

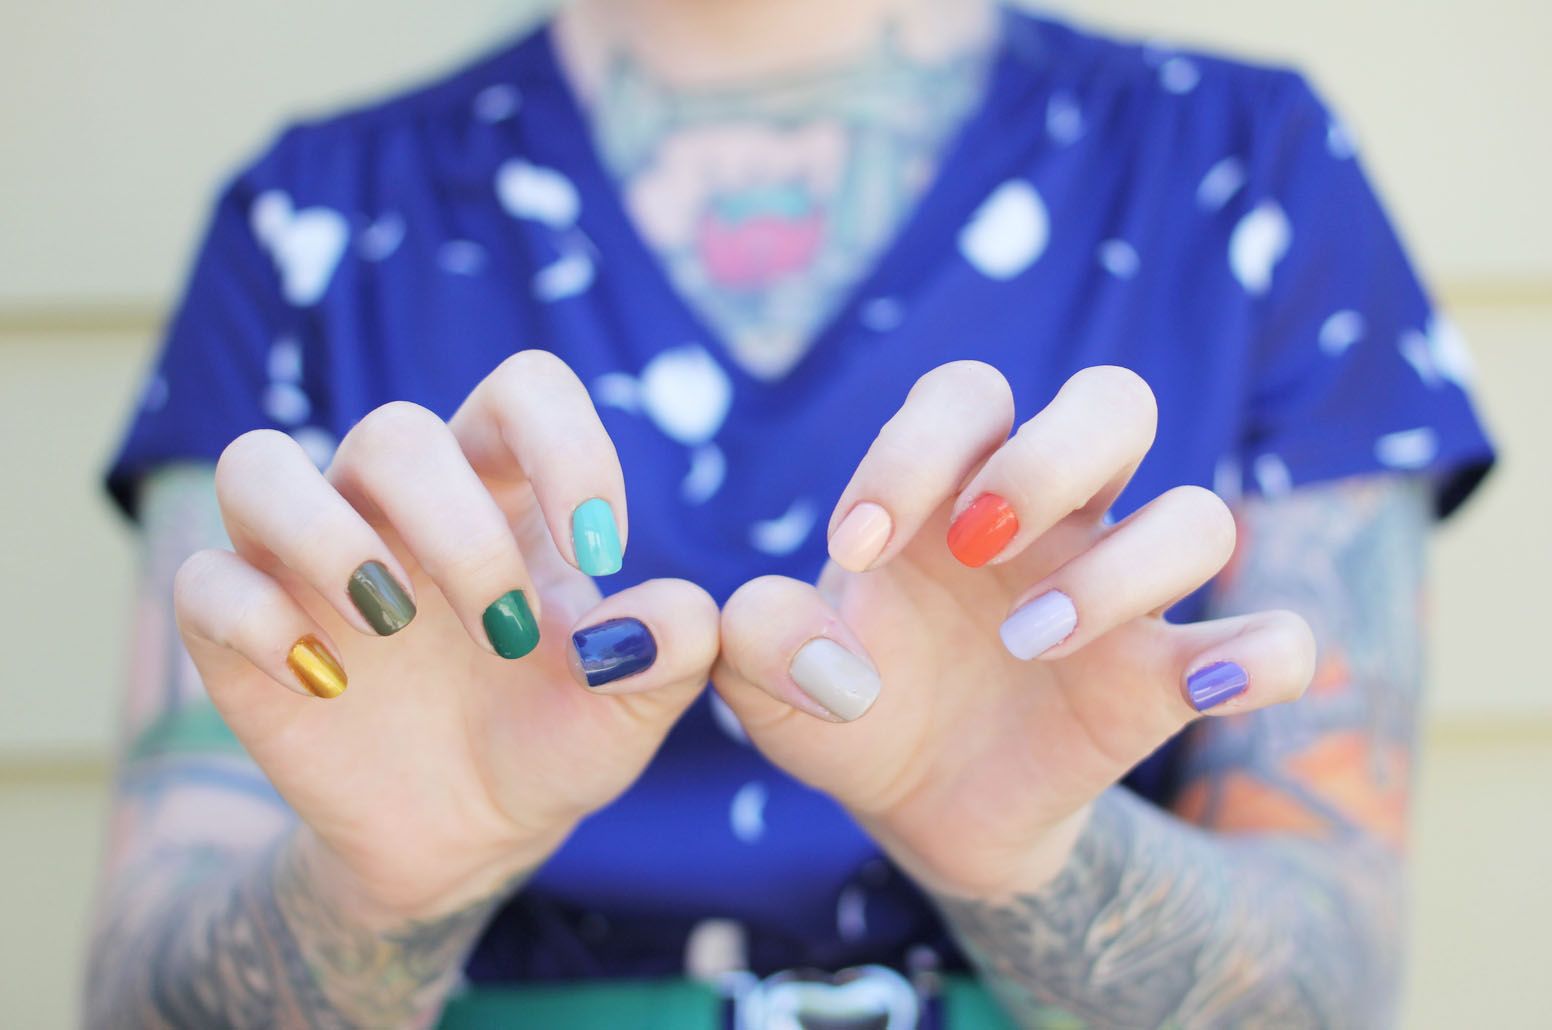
In the photo below you can see each of the colors on my nails (sorry about the awkward hand position, it's kind of hard to hold your hands so you can see all ten fingers in a picture.) Each polish has two coats and then a coat of Seche Vite to give it some shine and to make sure they don't chip.
Top row - left to right;
Wet n Wild - On a Trip
Essie - Lilacism
Revlon - Marmalade
Sally Hansen - Sorbet
Revlon - Bare Bones

Bottom row - left to right;
Sally Hansen - Thinking Of Blue
Zoya - Wednesday
Revlon - Emerald
Zoya - Dree
Zoya - Goldie

What are some of your favorite polishes - not only because they're pretty colors but because they're great polishes?
xoxo

Sunday, May 27, 2012

weekly nail

Supplies used;
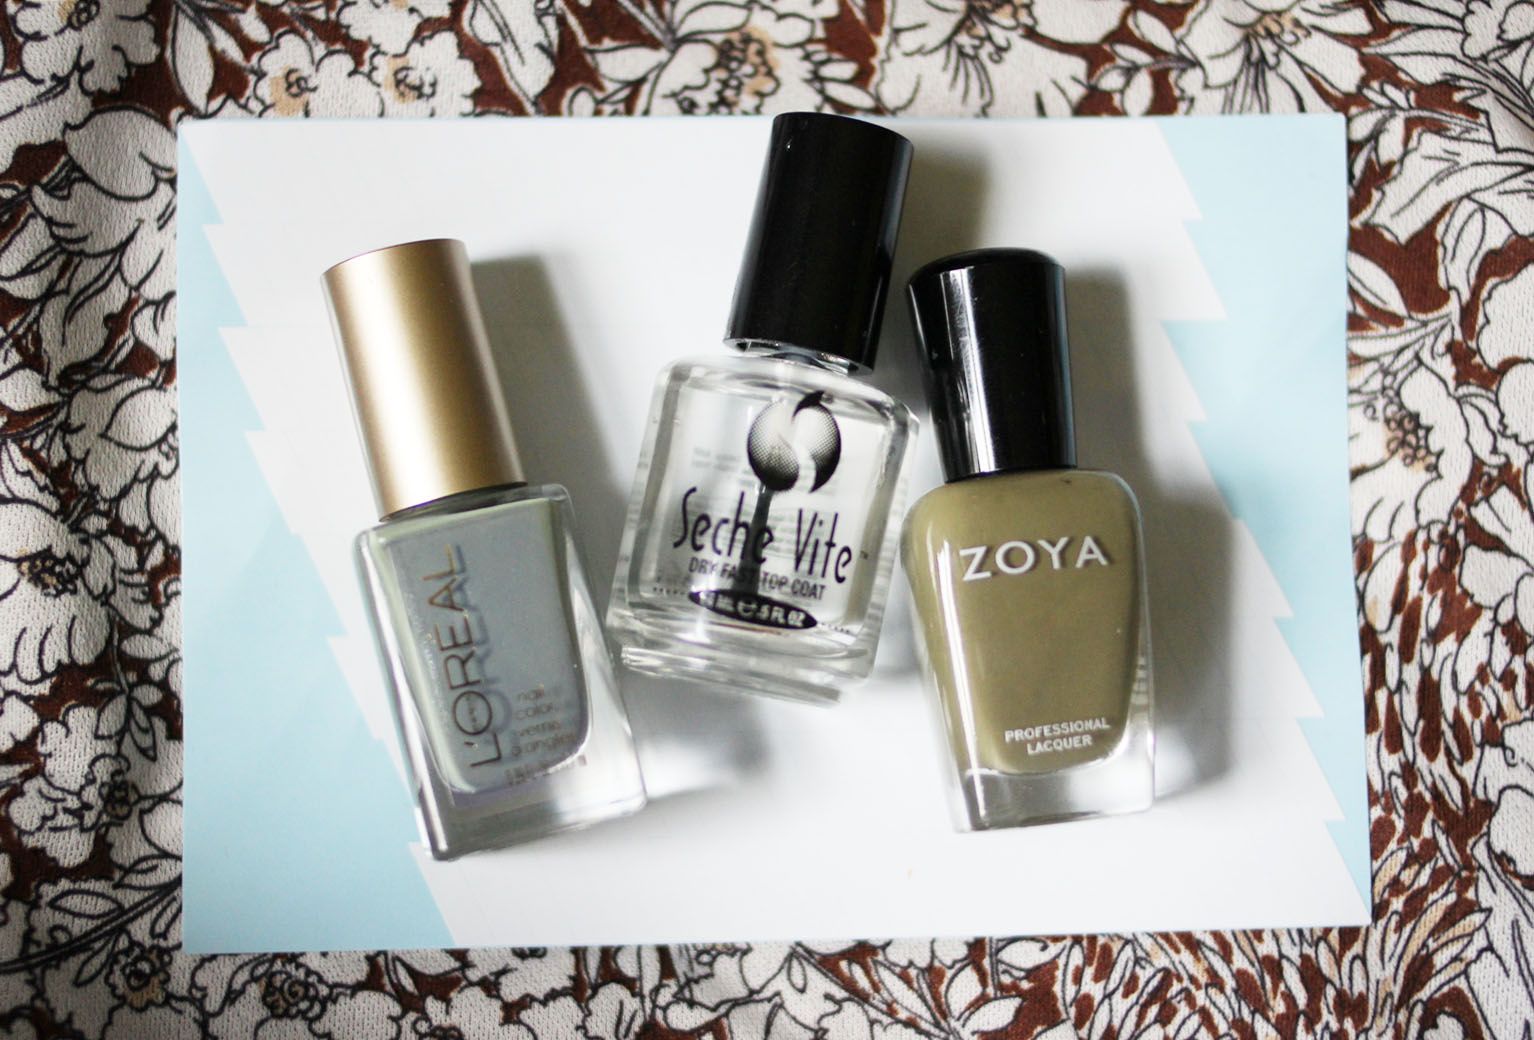
L'Oreal Safari Chic
Zoya Dree
Seche Vite as a top coat.
Nail stickers (blogged about here // bought from here)

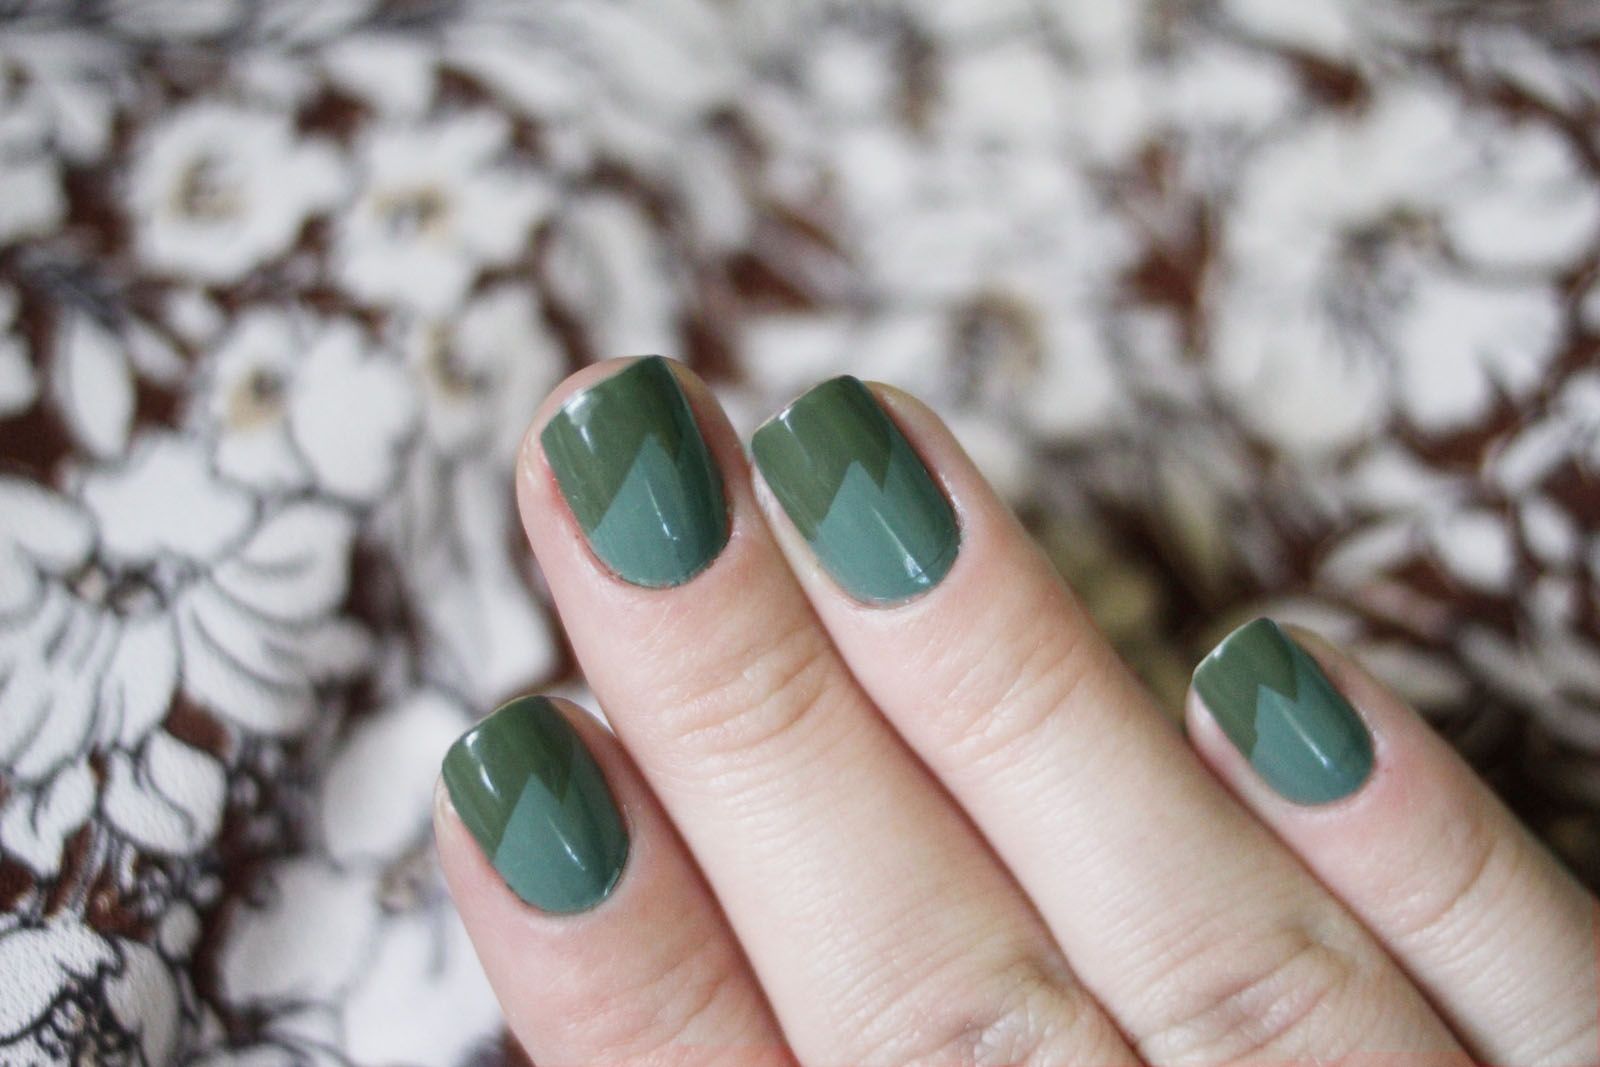
Still lovin' those nail stickers, clearly seeing as I haven't done any nail designs without since discovering them. I think this one might be my favorite, the little zig zags. It was definitely something I could do with tape but it's so much faster and easier with these.

The L'Oreal color was used as a base and then I applied the sticker and painted the Zoya color. As you might be able to tell it changed colors! It happens sometimes when painting colors on top of other colors but I really have the most problems with it happening when I'm using a shade of green. Sometimes it's really annoying but in this case I really ended up liking it.

Hope you're having an awesome weekend!
xoxo

Sunday, May 20, 2012

weekly nail

This was supposed to go up last week but for Mother's Day Kevin and I headed over to my parents really early have breakfast and I ended up not having time to finish up the post and didn't want to just throw it in the middle of the week because I AM OBSESSED WITH THESE NAILS. After I did the first nail I was like "POOP! That was a bad color choice" but I decided to go on because I didn't feel like taking off the base coat. After I finished and put on a top coat I realized that they were probably the snazziest things ever. I actually kept them like this for at least a week which is definitely a record in my book.
Supplies used...
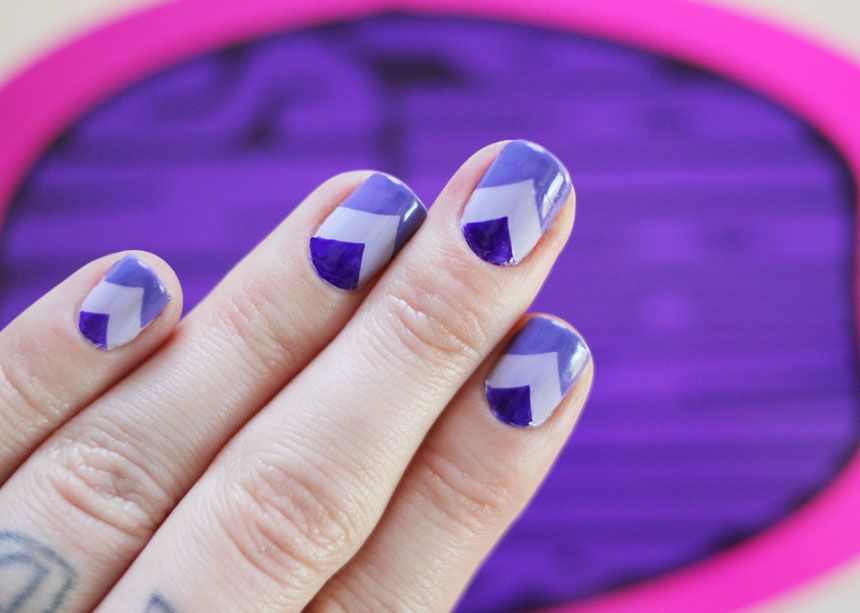
Wet n Wild - On a Trip
Essie - Lilacism
Funky Fingers
Seche Vite as a top coat.
Nail stickers (blogged about here // bought from here)

Still diggin' those nail stickers! This is one of my favorite shapes. It's simple without being too simple, if that makes sense. I also really like that it's a great width for my nail, it's just about a third of them. I bought some skinnier ones before buying these and I found them really hard to paint neatly. With these I can be kind of sloppy.

If you're not real quick on the nail stuff, I first painted the lightest color. After it dried I then applied the sticker and quickly painted the top half of my nail one color and the bottom half the other color and then removed the sticker before moving onto the next nail. Super easy!

xoxo

Sunday, May 6, 2012

weekly nail

Supplies used:
Zoya Goldie
Hot Topic brand
Seche Vite as a top coat
Nail stickers (blogged about here // bought from here)

I can't recommend Zoya Goldie highly enough. It's a fabulous polish. Zoya is possibly my favorite brand and Goldie is definitely my favorite polish from them. It applies so nice and, if you do it just right, in one coat! (PS. I have a whole post coming soon-ish about my favorite polishes and why. I'm excited to share.)

I also, surprisingly, love Hot Topic nail polish. I've literally had this stuff for at least six years and it's still a great consistency. If you're wondering why I was able to hang on to and not use up a nail polish in six years it's because in high school I bought a bunch of them because black nails were totally the coolest. Then all of a sudden I got bit by the color bug and thought black nail polish was really boring. Aaaaanyways for $2.99 I think Hot Topic nail polish is pretty darn amazing. When I finally run out of black I'll be buying it again. I didn't realize how hard it was to find a black nail polish that covered in one coat and this one certainly does.

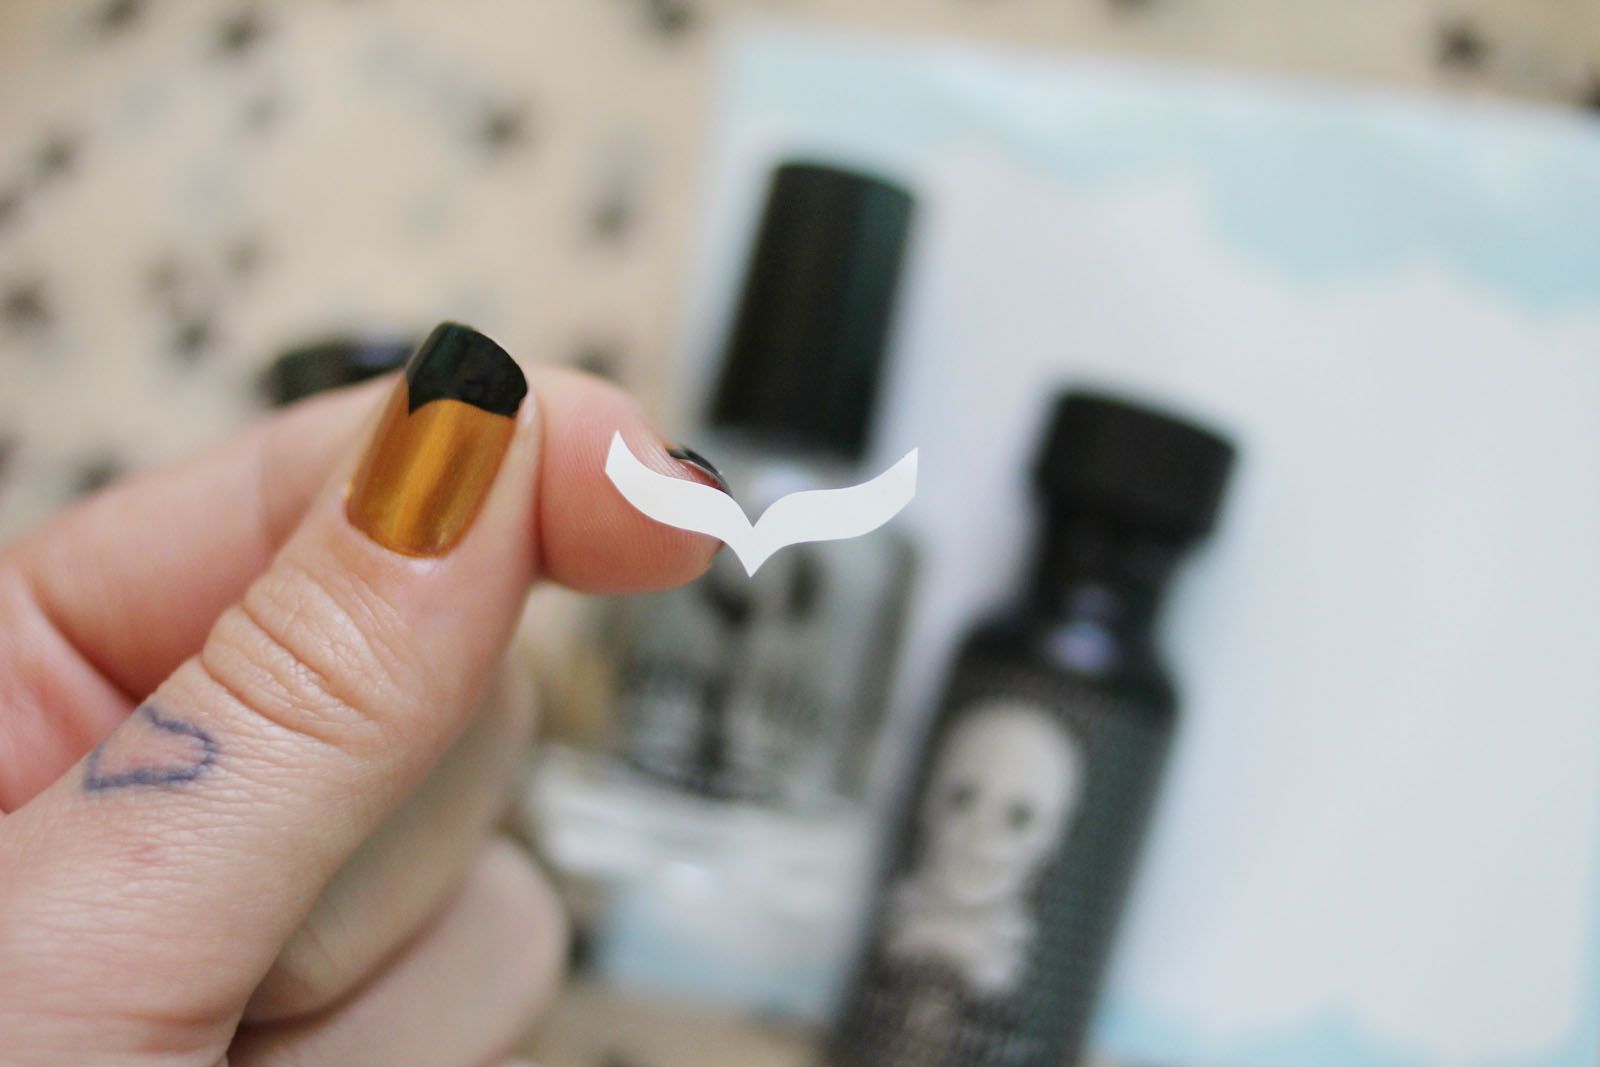
I think this is my favorite shaped nail stickers. Buuuut don't hold me to that because I know next time I do my nails with another sticker I'll say "Oh my gosh, this is like my favorite everrrrr!" It's just such a great shape. Doesn't the sticker itself kind of look like owl eyebrows? Hah!!
xoxo

Thursday, May 3, 2012

Nail Stickers!

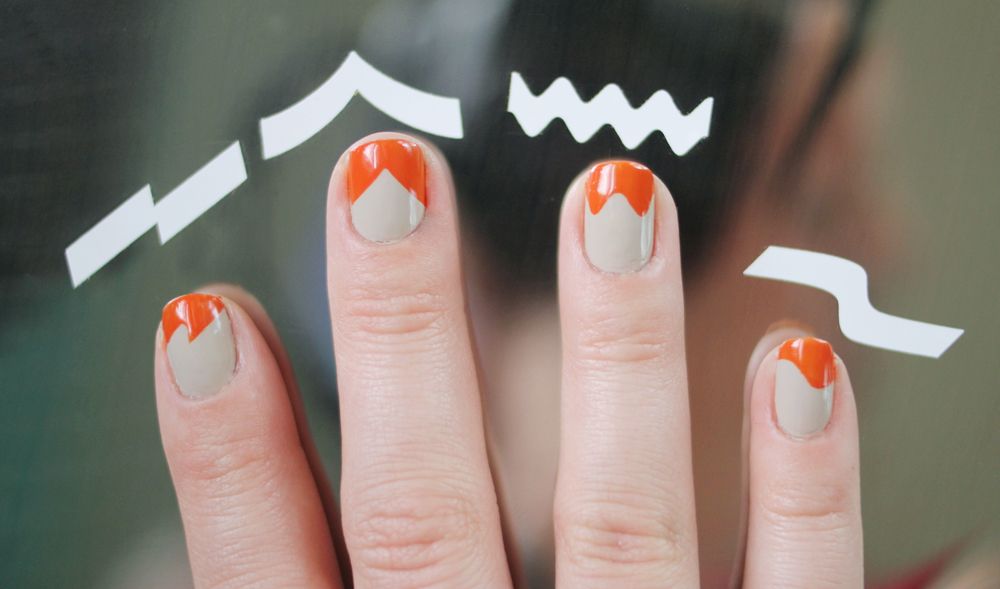
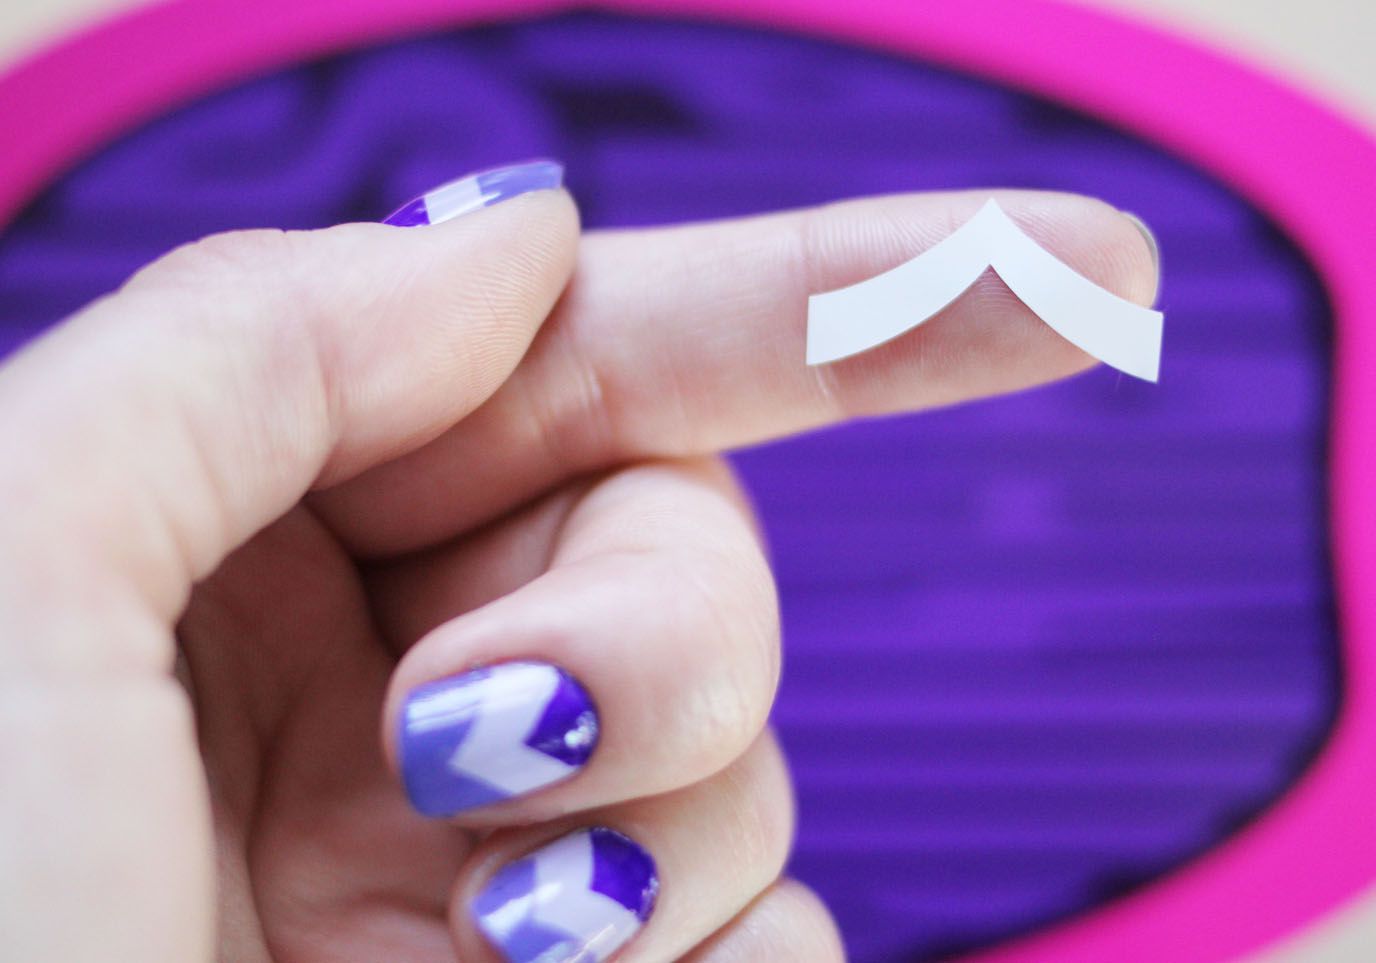
I have to gush about my favorite new discovery. For Easter my mom got me a little set of nail polish and with this set came some french manicure guide stickers made from paper (similar to what paper reinforcement stickers are made from) in the standard curved shape but it also came with v-shaped ones made that makes a snazzy little chevron shape on your nail. I realized these were something I would not be able to go without again. So I set out to the internet to find more.

After searching a little while I finally found the set I would buy, they're cheap and best of all there were more designs than just the curve and v shape!
They turned out to be even more amazing than the stickers that came with the set my mom got me and 100 times more awesome than tape! They're made from a vinyl like material. If you've experimented with scotch tape a lot than you may have noticed that it sometimes almost like dissolves a little bit when the nail polish on it for too long which compromises the clean lines. Well, that doesn't happen at all with these! They've pulled off clean every time.

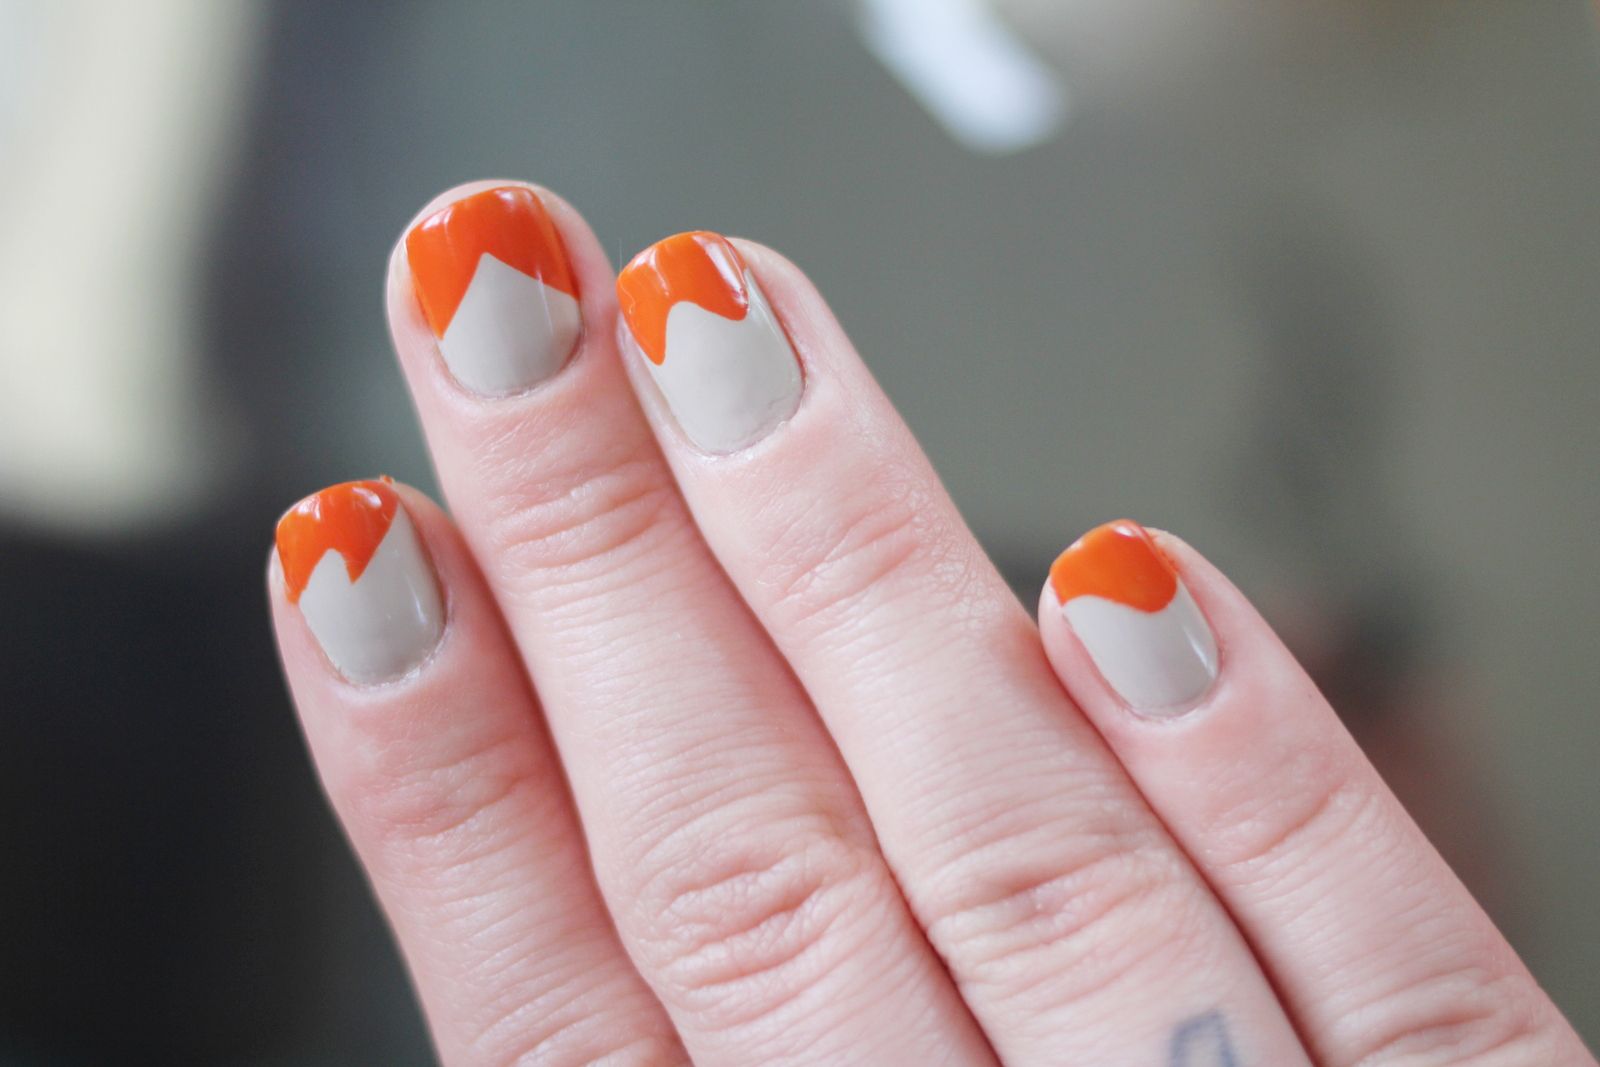
Here is an example of what each sticker looks like and the design it makes. I just chose to showcase my favorite four designs, but there are a total of ten offered where I bought them from (I'm sure with time, in weekly nail posts, you'll eventually see them all...at least three times)
The stickers I bought were from this seller on ebay. The shipping was quick despite being from another country and I couldn't be happier with the stickers. I can't believe these were something I didn't even know existed. Cutting scotch tape may be fine if you only plan on doing your nails fancy once or twice. But from now on I'm sticking to these stickers - what a time saver!!

Just like with tape I recommend taking the stickers off the sheet and placing them on your (clean & dry!) skin so they're not so sticky. And always, always, always make sure to apply the sticker to a very dry base coat so you don't have any issues with it peeling it off when you take the sticker off.

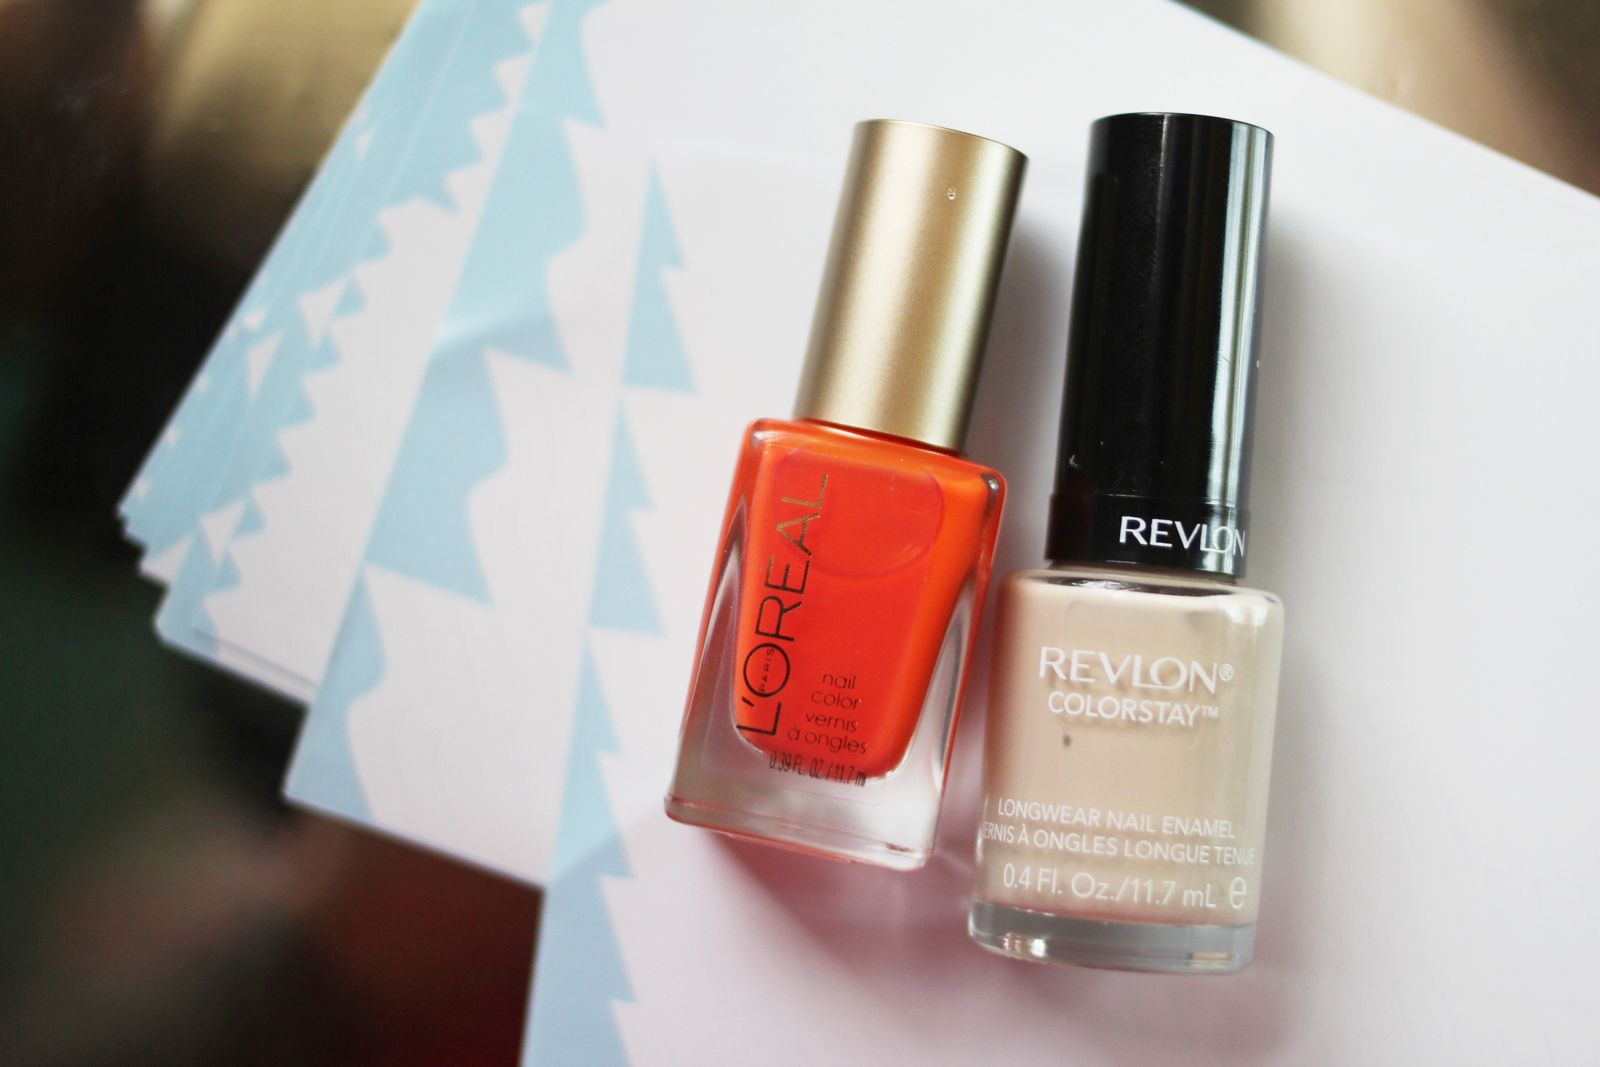
In case you're curious the colors I've used in these photos are...
L'Oreal L'orange
Revlon Bare Bones (one of my absolute favorite colors!)
(and of course a top coat of Seche Vite!)

I seriously can't get enough of these stickers! It's one of those purchases that I honestly just want to buy tons of because I'm afraid some day they won't be available or I won't be able to find them!
xoxo

Sunday, April 29, 2012

Weekly Nail

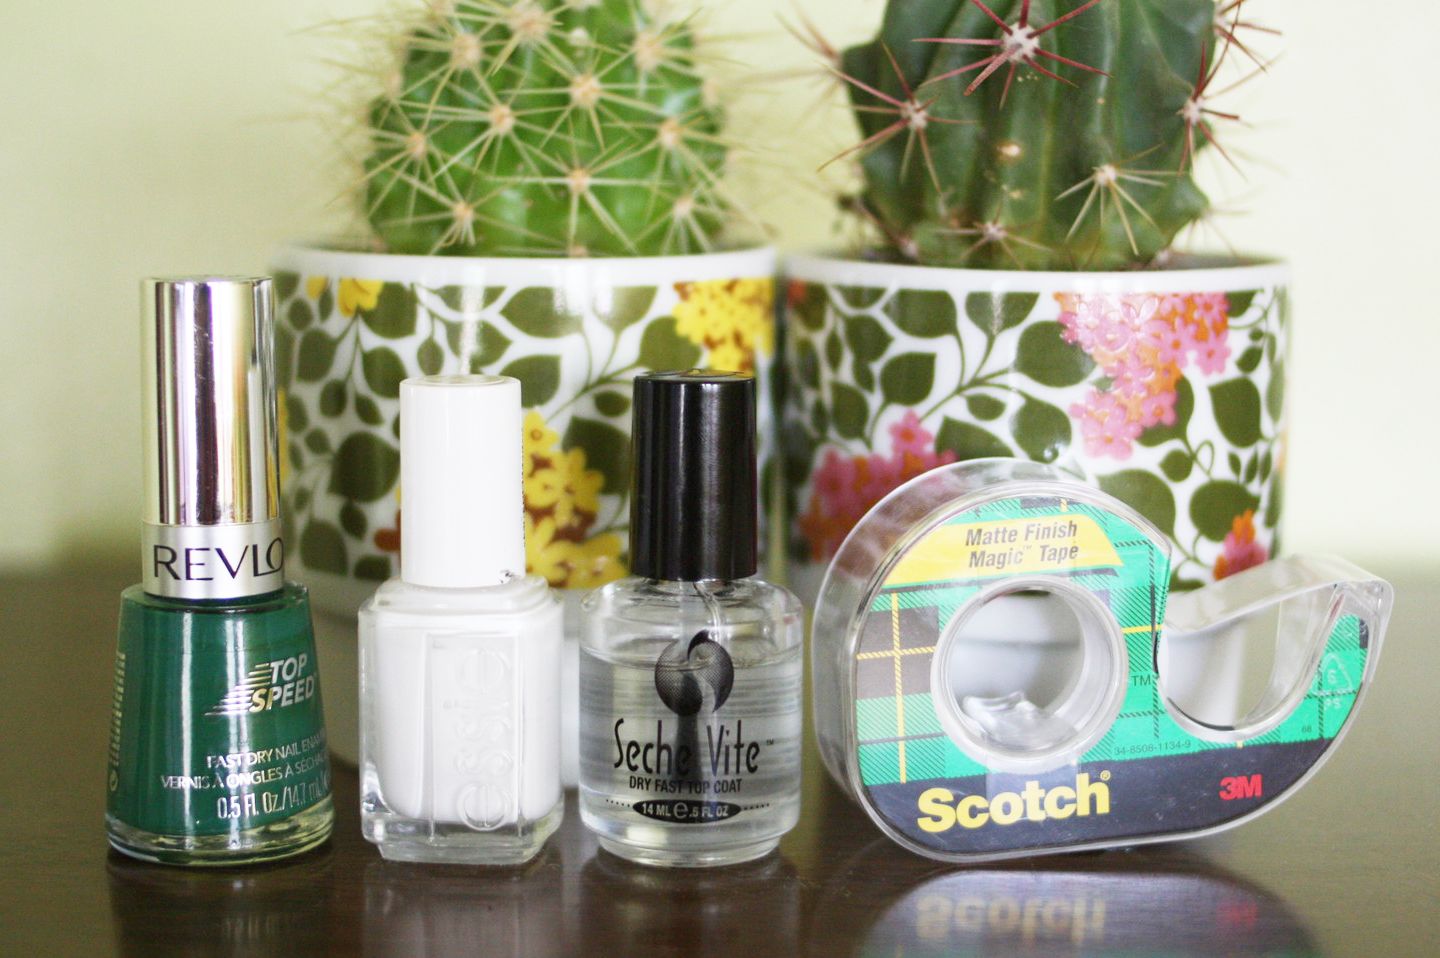
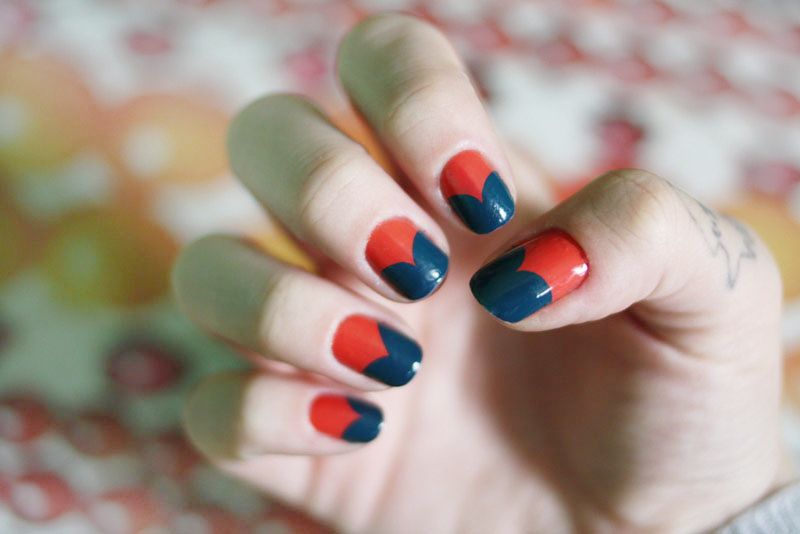
Supplies used;
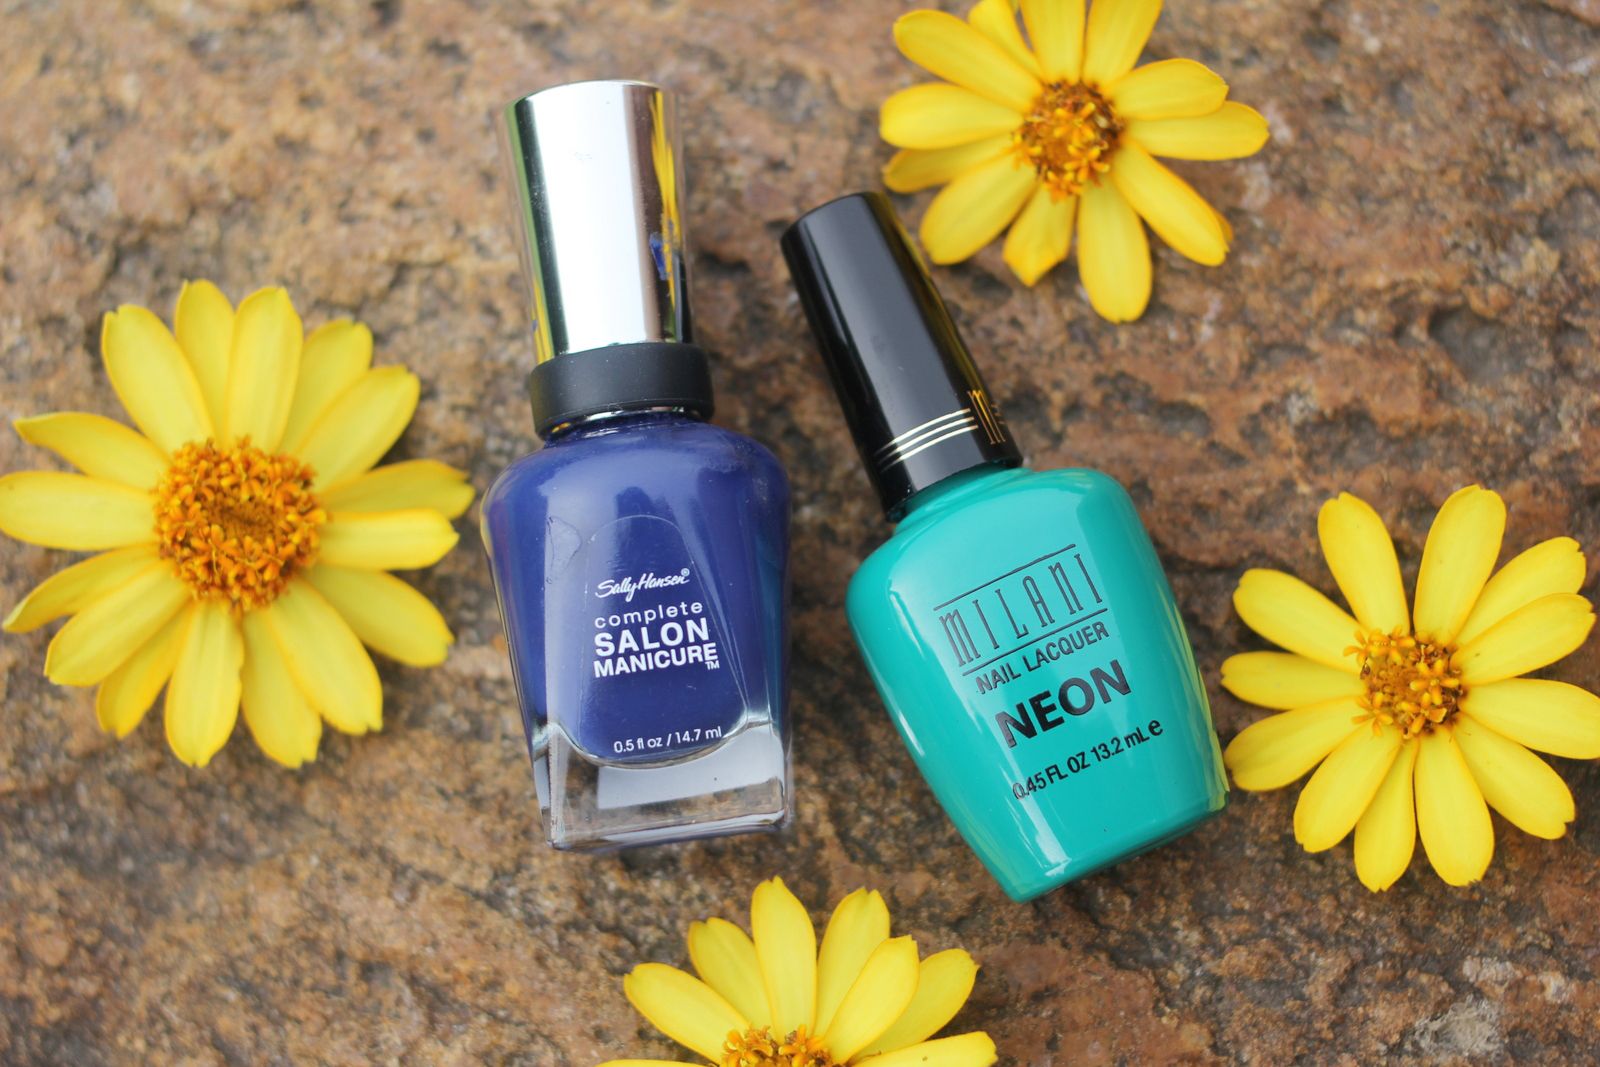
Revlon Top Speed in Emerald
Essie Blanc
Seche Vite
Scotch Tape

I used The Beauty Department's genius idea of painting scotch tape then cutting it out to the shape I want and applying the piece of tape to my nail. I'm really excited to play with this idea more, I have so many ideas I want to try out. I seriously can't believe I didn't think of the tape idea, it's so simple.


Happy Sunday!
xoxo

Sunday, April 22, 2012

Weekly Nail

This week's weekly nail are not two colors I would normally put together but they're both polishes I've picked up recently and I was itching to try them both out. I'm like that a lot actually. I've been know to take the tags off things I buy and immediately put them on in the car. I tend to get overly excited about purchases. But that's neither here nor there...
Supplies used;
Revlon Colorstay Marmalade
Essie Go Overboard
Seche Vite as top coat
Nail Stickers

Okay first - nail stickers. I'm not talking about the paper reinforcement stickers (although this is a design you could make with those) these are different and I 100% plan on doing a really informative post on these babies really soon (as in sometime this coming week). So stay tuned (that's so awkward when bloggers say that, isn't is?!) I'm so excited to share! These are one of my favorite purchases in a loooong time and if you don't already use something just like them you're going to love me for introducing you!

I am loving Revlon nail polish. I'm actually only two more nail polish qualified than the last time I said that (bringing the number I own to three) but I am seriously impressed. I love the way this stuff applies. It's so smooth and despite the fact this particular color looks so much different on and dried than in the bottle it just wiggled it's way into my favorite polishes.

Have a fabulous Sunday!
xoxo
Sunday, April 15, 2012

Weekly Nail

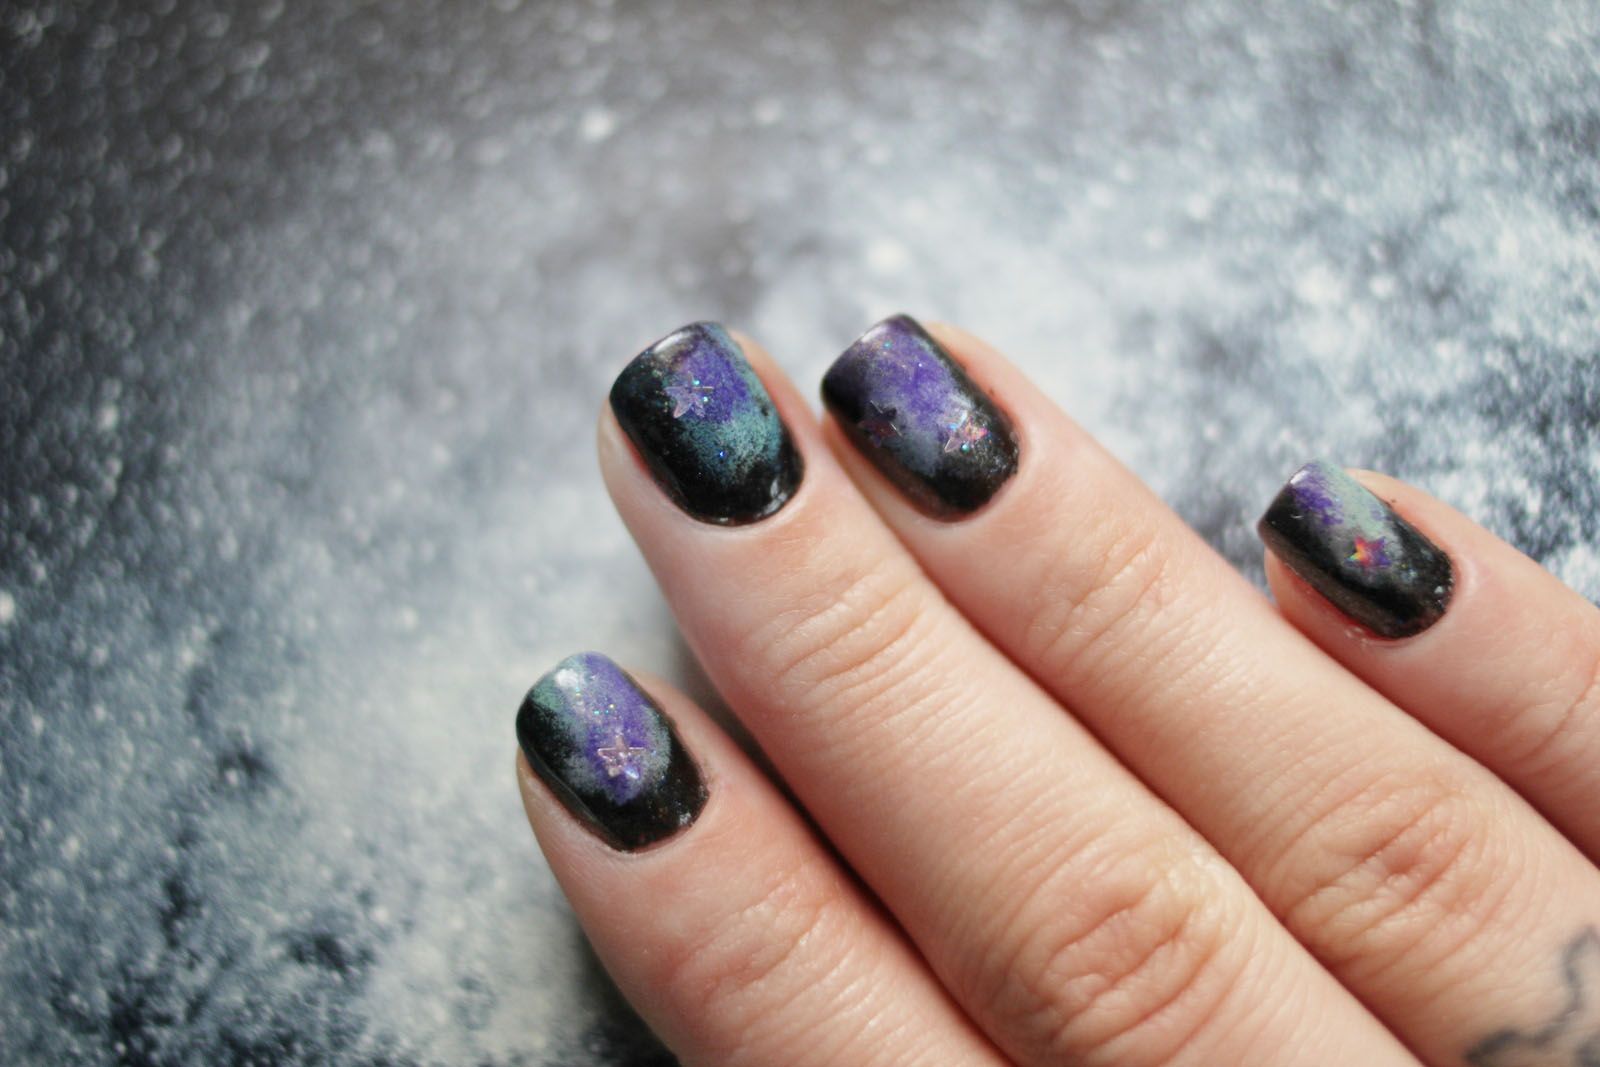
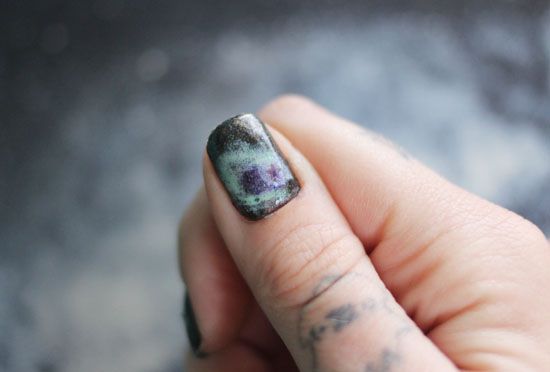
Galaxies! This is the third time I've tried galaxy nails. The first I really dug them, I thought they were the bee knees but knew I could do better if I just kept practicing. The second time I failed miserably, some thing was just off. So I didn't try again for quite some time. This time I did a decent job but as soon as I was done I figured out a few things I could have done differently to make them a little bit better but regardless I still think they turned out pretty great!
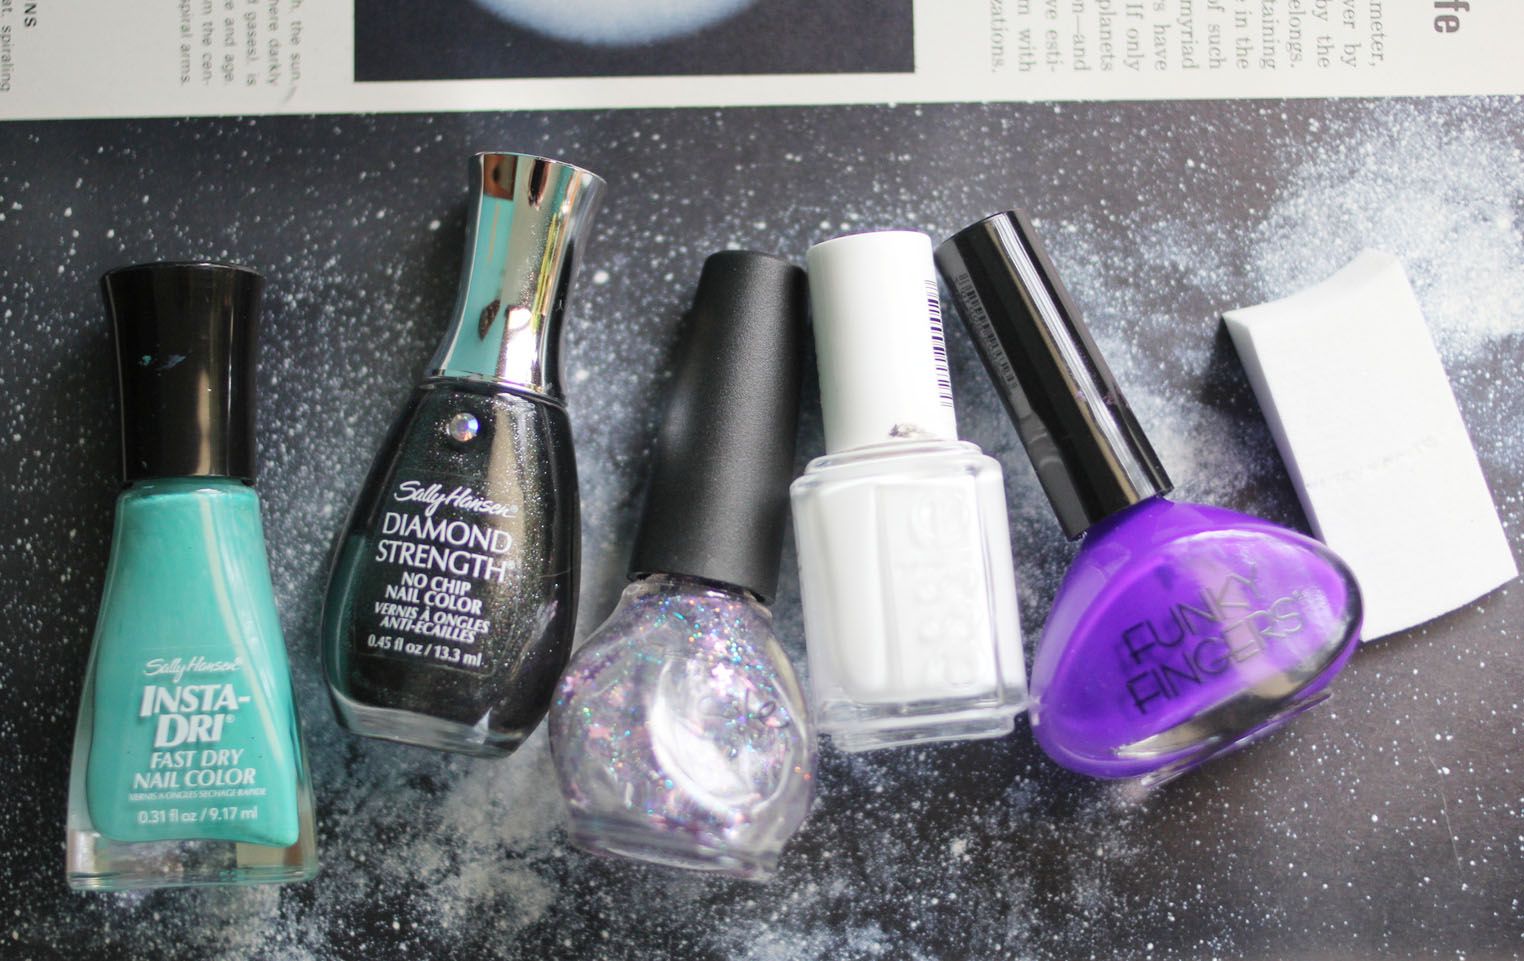
Supplies used:
Sally Hansen Insta-Dri in Jade Jump
Sally Hansen Diamond Strength in Black Diamond
Nicole Let's Get Star-ted
Essie Blanc
Funky Fingers Riot (The only place I know of to get Funky Fingers is at FiveBelow)
Makeup Sponge

I have a little tip for you regarding glitter nail polish, like this Nicole one, where there is a main glitter you want on your fingers - like the star or a heart. It's rare they actually come out on the brush when you want them to, let alone where you want them to and when you just keep adding layers and layers trying to get the stars (or whatever shape) it will just make it hard for the polish to actually dry. So what I like to do is dump a little bit of the polish out on a paper plate (or any other disposable surface) and use a toothpick to pick up and place the glitter where I want it. So simple right?!

My favorite turned out to be my thumb. I love how it all came together. The only thing I'd change is that white area behind the star. I wish I could just hit "undo" sometimes when I was doing my nails. It'd save me so much time (and nail polish remover)
Hope you're having an awesome Sunday!
xoxo